If you’re changing the look of your room, you don’t need to buy a new ceiling fan to match your decor. Follow these simple steps to repaint your ceiling fan blades for a whole new look!
How to Repaint Ceiling Fan Blades
Step by Step Instructions
Step 1
Remove your fan blades and choose which side you want to paint.

Step 2
Tape the sides of the blades so the primer and paint don’t drip down the sides as you paint.

Step 3
With a 220 very fine grit sandpaper, sand off the shiny veneer until dull and wipe down with mircofiber cloth to remove any excess dust.

Step 4
I used Rustoleum Primer, Semi Gloss Black and Matte Finish clear coat for this project. There are tons of colors to choose from, even metallics if you want something funky!

Step 5
Time to prime! Use a nice thin coat and allow to dry completely. Then determine if it needs another coat or not.

Step 6
Grab that 220 grit sandpaper again and sand the blades until smooth. Wipe dust with microfiber cloth to start with a clean surface.

Step 7
Evenly spray the blades with broad, sweeping motions about 6-8″ from the blade so the paint doesn’t pool or drip. Let dry completely then paint again for your final coat.
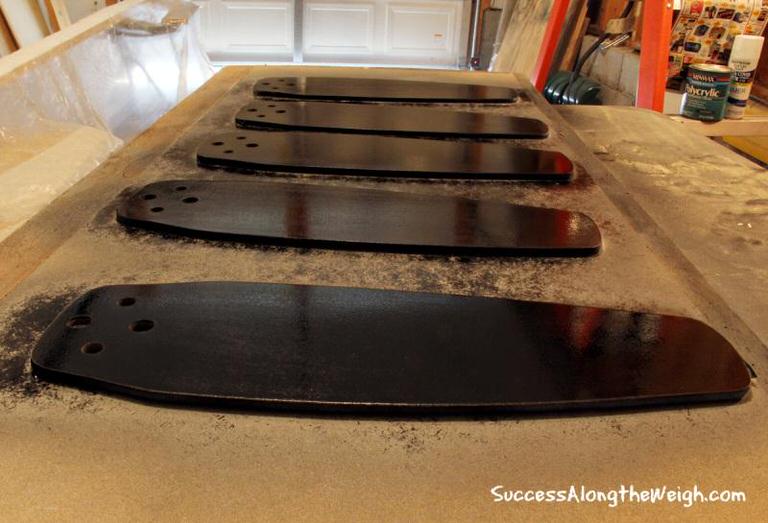
Step 8
This is where you seal in your hard work. Use a paint on Polycrylic Satin Finish for a medium gloss or you the matte finish spray to give that veneer effect that applies to most ceiling fan blades. I went with the matte finish.

Step 9
If the paint job is to your liking, it’s time to carefully remove the tape from the sides of the blades.

Step 10
Re-attach the blades to the fan making sure they’re securely fastened, flip it on to test it and be amazed at how easy that was!

Step 11
Go from blah to bam!


Leave a Reply