Everything is better with glitter! These handmade bobby pins are made from polymer clay, and are very simple to make. You will only need a few supplies. They make an adorable handmade gift or party favor!
DIY easy “all that glitters” polymer clay bobby pins
| Difficulty | Cost | Time | Age | Person | Event |
|---|---|---|---|---|---|
|
Easy
|
$1 to $25
|
4 Hours
|
-- | -- |
Homemade Gift
|
Inspired From:
You Will Need...
- 1. Polymer Clay.
- 2. Kemper Cutters/mini cookie cutters.
- 3. Super glue, E6000 or crazy glue
- 4. Bobby pins.
- 5. Mod Podge
- 6. Glitter!!!
- 7. clay roller/craft pasta roller/craft rolling pin.
- 8. baking tray.
- 9. parchment paper.
- 10. Toaster oven or regular oven.
- 11. Small paintbrush
Step by Step Instructions
Step 1
Using the warmth and strength of your hands, condition the clay making it soft & pliable. About one-third, to one-half of clay from it’s packaging (from a small 1.97 oz brick).

Step 2
Roll out your clay, using a craft rolling pin or craft pasta maker (do not use tools that you use for food). If you are using a craft pasta maker, use the thickest setting, and fold the clay into two layers so the clay is at least 1/4″ thick.

Step 3
Step 3
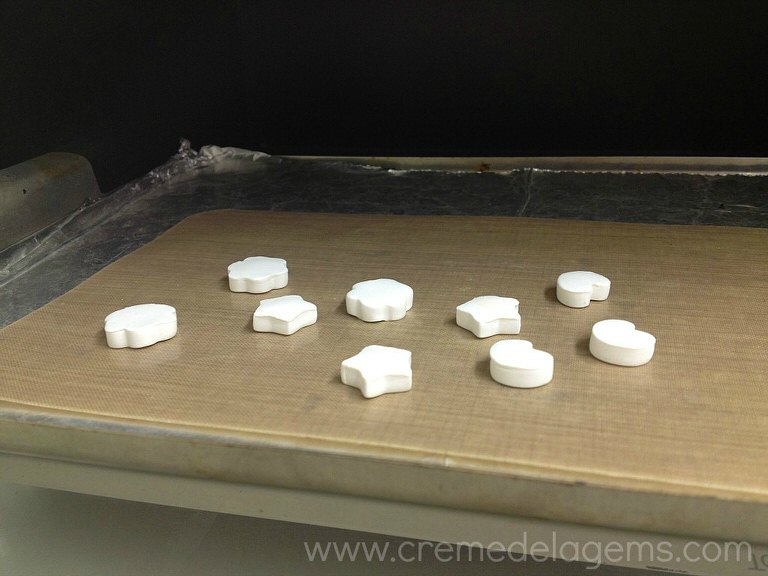
Time to punch out your shapes. I personally LOVE the stars & hearts, but I thought would try a flower this time. In hindsight, I feel the flower would look adorable if it was hand-painted! Next time 😉
Step 4
Let’s get baking! Preset your oven, or set your toaster oven to 230° F / 110° C. Bake clay shapes for 30 minutes. Do not over bake. Tip: follow package instructions.
Step 5
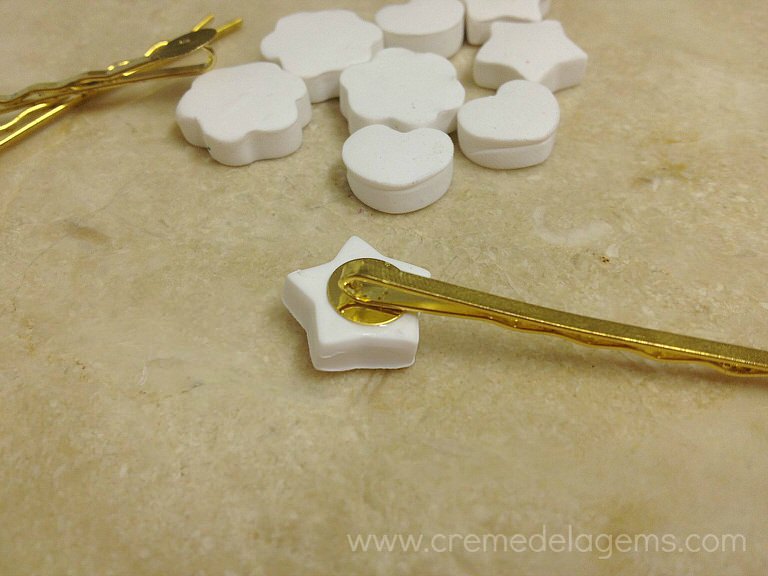
After allowing baked clay shapes to cool completely (approx. 30 minutes), add a drop of glue to the bobby pin pad. Tip: make sure the pad is clean. Press pad at center of clay shape, holding the pad and baked clay shape firmly, until glue sets. This may take longer if you use the E6000.
Step 6
Once the glue dries completely, coat your baked clay shape with mod podge, using a small paint brush. Get both sides & edges, including the back of the metal bobby pin pad.

Step 7
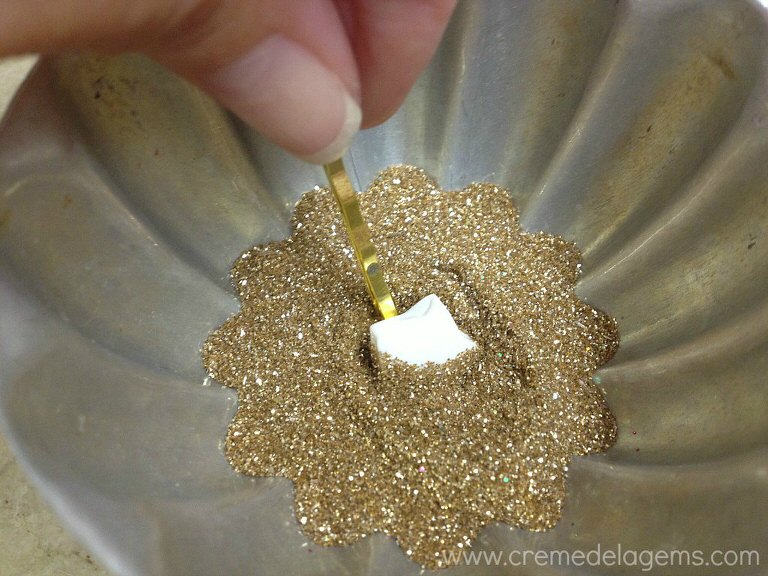
It’s glitter time! You now get to dip, swish, coat and slather the baked shape into your dish of glitter, making sure all areas are fully covered. If everything does appear to be coated well, then allow your glittered bobby pin to dry. If not, you can dab more mod podge onto the bare spots and dip into your glitter again. Tip: for extra glitter, do step 8 twice, but allow the first coat to dry for at least 30 minutes before reapplying.
Step 8
additional picture

Step 9
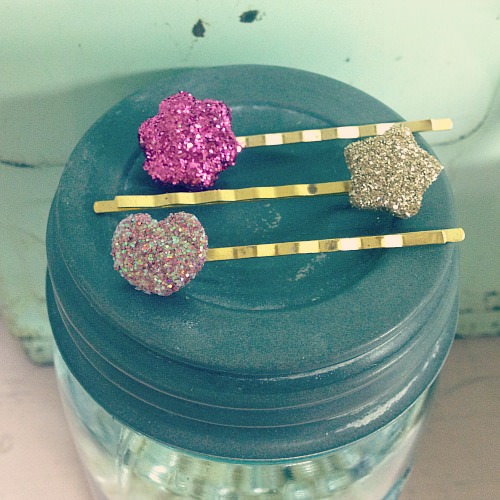
Aren’t these just too cute?! I hope you enjoy making your sparkly-glitter bobby pins. If you have any questions at all, please ask, I’d love to hear from you!

Step 10
And look… they make a cute handmade gift! Just add them to a cute little tag, or make your own card from heavy card stock. So sweet!

Gallery


Leave a Reply