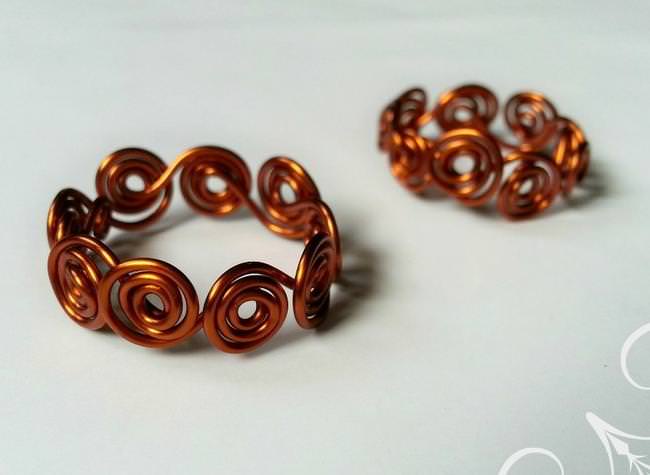
You should already know about my swirl-addiction if you’ve read my profile description! I’ve made tons of swirly jewelries and this is one of my fave!
DIY Swirled-all-around Ring
| Difficulty | Cost | Time | Age | Person | Event |
|---|---|---|---|---|---|
|
Moderate
|
$1 to $25
|
30 Minutes
|
-- | -- | -- |
You Will Need...
- 1) Crafting wire- 18-20 gauge,
- 2) Crafting pliers (looping, cutting, flat plier),
- 3) Mandrel,
- 4) Ruler.
Step by Step Instructions
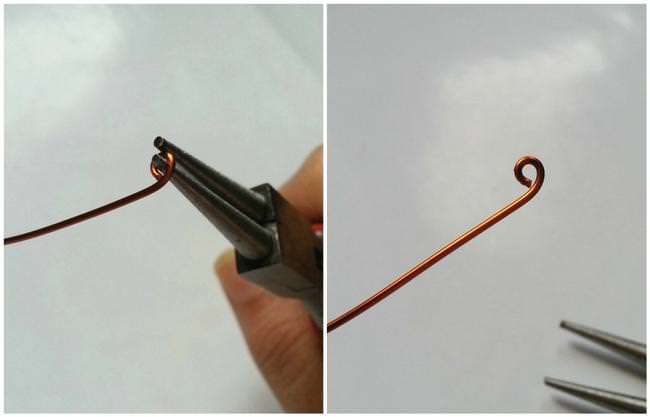
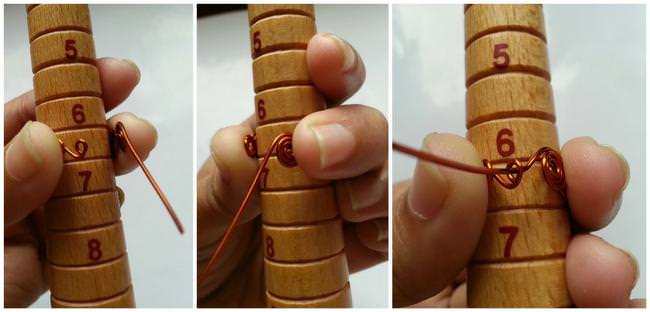
Step 1
Hold the wire from an end but don’t cut it off from the bundle. Create the first loop at that end by using the looping plier. Make another loop by winding the wire in the opposite direction of the previous one, (keep 0.5 cm gap between the loops).
Step 2
Now wind the wire around the second loop 2-3 times (not more than 3 times) to make the first swirl.
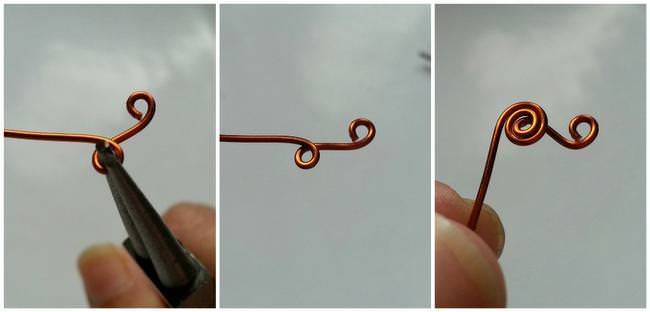
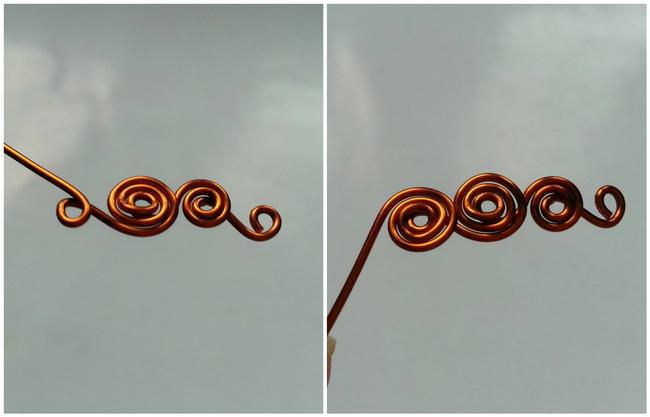
Step 3
For each swirl you’ll have to make a loop first. After making the first swirl, make another loop near it but wind the wire in the opposite direction of the previous loop, (keep 0.5 cm gap between the second swirl and the third loop). Now simply wind the wire around that loop for 2-3 times. Continue to do the same.
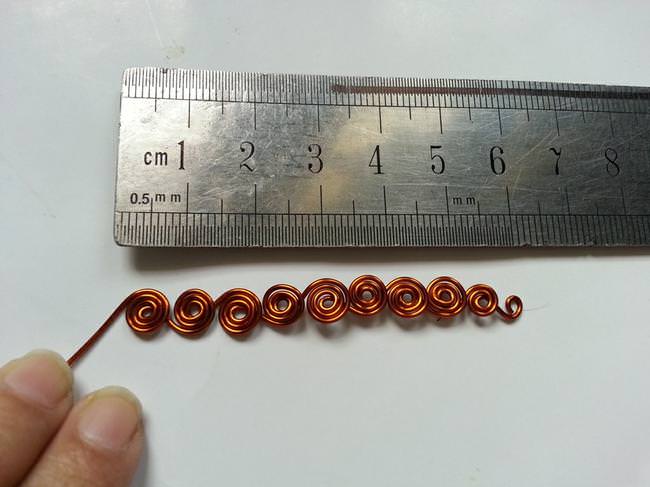
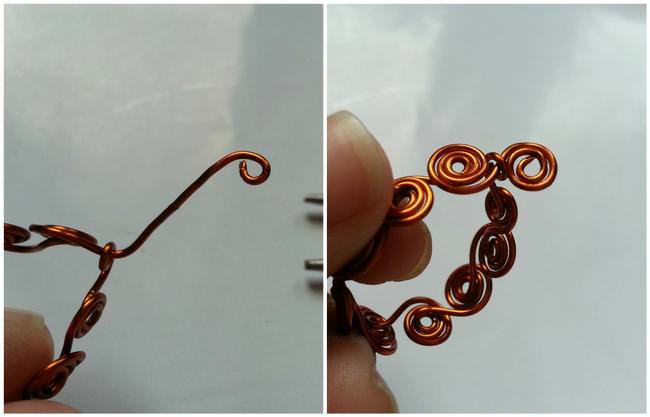
Step 4
When you’ll think that you’ve made enough swirls for the ring hold it straight along a ruler to check if the size is right. Then cut the wire from the bundle by keeping an inch extra.
Step 5
Wrap the swirled wire around the mandrel and insert the extra straight wire into the first loop.
Step 6
Now make a loop at the end of the extra part of the wire and wind the wire around that loop till the wire ends.
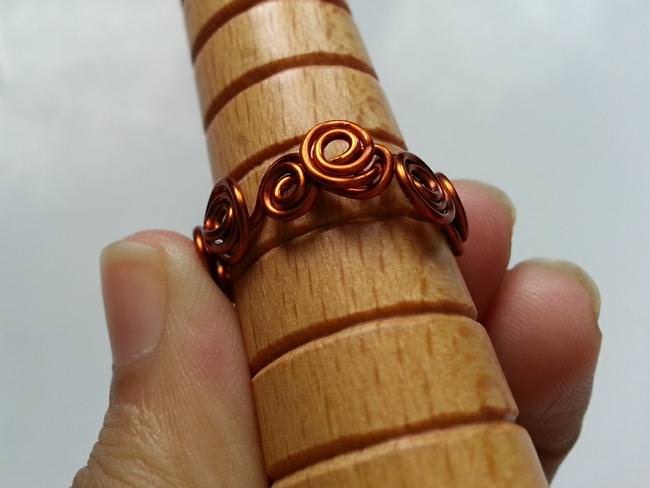
Step 7
After you’re done making the final swirl, use the flat plier to flatten it with the rest of the swirls. You may also flatten the other swirls to give them a smooth swirly shape.
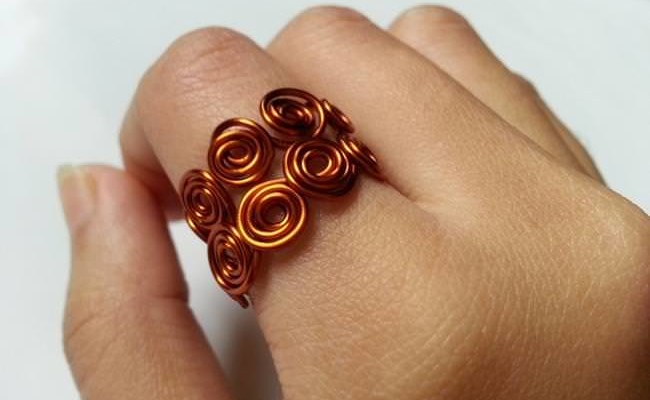
Done!
Gallery

Leave a Reply