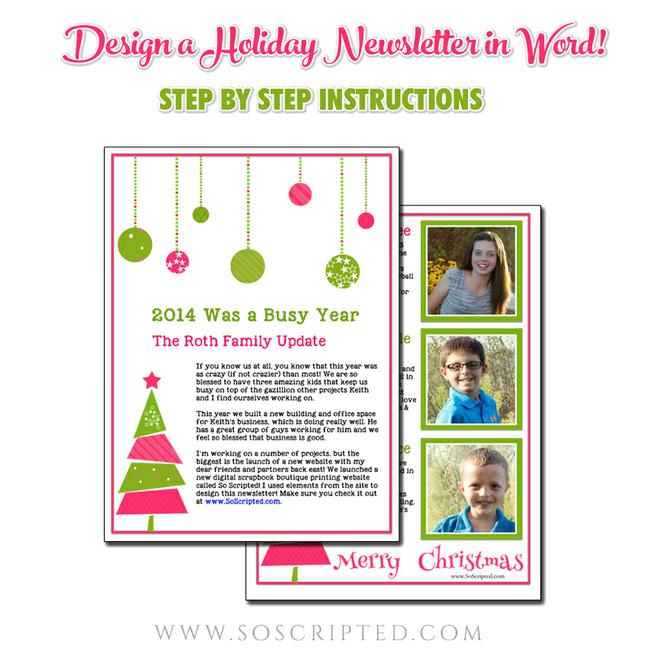
Not everyone has Photoshop, but everyone wants to design a beautiful holiday newsletter to share pictures and stories with family and friends. I set out to design a beautiful, custom Christmas newsletter with pictures of my kids in a Microsoft Word document. I didn’t use any editing software! Just some clip art from www.SoScripted.com and digital pictures of my kids! You can design a beautiful custom newsletter this year too!
Easy DIY Christmas Newsletter Designed in Word
| Difficulty | Cost | Time | Age | Person | Event |
|---|---|---|---|---|---|
|
Easy
|
$1 to $25
|
30 Minutes
|
-- | -- | -- |
Inspired From:
You Will Need...
- - Clip art purchased from www.SoScripted.com
- - Digital pictures of my kids
- - Word program on my computer
Step by Step Instructions
Step 1
STEP 1: ADD STANDARD ELEMENTS IN “PUBLISHING LAYOUT VIEW”
First open a new Word Document to work with (FILE > NEW OR CONTROL (COMMAND) + N). Then in the bottom left look for a button to change the document into PUBLISHING LAYOUT VIEW. I like this view because it lets me create a master page that will match up elements that I want on the front and back of my newsletter.
First, I’ll select the MASTER PAGES tab in the bottom right. Whatever I put on the Master page will appear exactly the same on all of the pages of my newsletter. In this case I’m going to put a boarder around my newsletter, a Christmas tree on the bottom right and some Merry Christmas Word art across the bottom by the tree. (I used So Scripted’s Whimsical Christmas Designer Gems, but feel free to browse all of our Designer Gems!)
The first thing I did was draw a box to make a boarder for my newsletter. After I drew my box, I removed the fill and adjusted the stroke (outline). I want to change the color of my stroke too, but I want it to coordinate with my clip art, so I’ll come back and do that in a minute.
I want to add a Christmas tree to the front and back in the same spot, so I’m going to place a photo (image) by using the top menu: INSERT > PHOTO > BROWSE FROM FILE.
I can follow the same process to add the Merry Christmas word art.
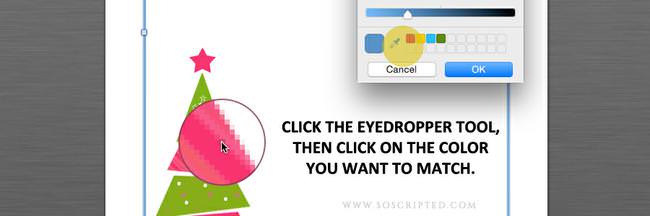
Now, I can match the border I drew to my tree. First, I’ll select the border, and then I will choose “MORE COLORS” from the border drop down menu. Next I’ll use the eyedropper to choose a color in my tree art. (Click on the dropper, mouse over the color in your document you want to match and click to select the color.)
Step 2
STEP 2: ADD PHOTO BOXES
Now I want to put pictures of my three kids, so I want three photo boxes on the back. You can make these any shape, but I’m going to make mine square. First you draw the boxes and add whatever stroke you want around the box.
Now it’s time to add the image and it’s a little tricky. Here’s what I did:
Click on the box to highlight it then use the menu at the top and navigate to FORMAT > SHAPE.
In the box that appears, highlight “FILL” on the left and then click “PICTURE OR TEXTURE” at the top.
Next click the “CHOOSE PICTURE” button and browse to find your image.
Click INSERT and OK.
If your image was already cropped square it should look fine, but if not, it might look all distorted in your image box. Here’s how to fix that.
First, make sure the square is still selected. Then, while in the “FORMAT PICTURE” menu click on the drop down menu next to your CROP tool and choose “CROP TO FILL”.
This will fix the image in the box and you can reposition it as needed while your image is still selected. Here are more details on the “Crop to Fill” function.


Leave a Reply