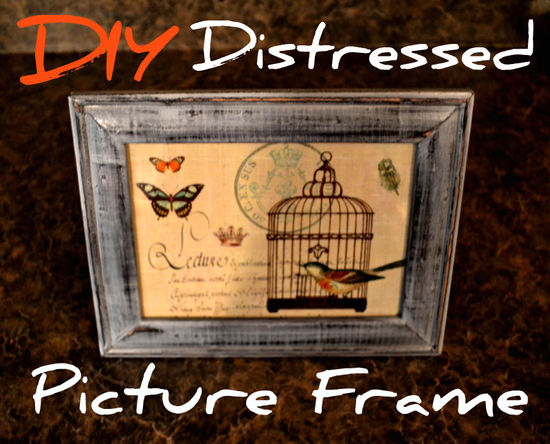
Distressed Picture Frames are a shabby chic must have. They are the perfect decorative accent complimenting both contemporary and traditional decorating styles; however they often come with a hefty price tag, so I am going to show you a quick and easy diy shabby chic tutorial to transform a dollar store picture frame to a pottery barn look alike.
Easy DIY Shabby Chic Picture Frame Tutorial
Inspired From:
You Will Need...
- Picture Frame
- Paint (I prefer using spray paint)
- Sandpaper, fine grit
- Candle
- Clear Coat
Step by Step Instructions
Step 1
If your frame has a glossy finish youll want to sand it a little to ensure the paint will stick. My picture frame didnt need to be sanded so the first step for me was to rub candle wax on the frame in the areas that I would like to expose. This allows the paint to come off easier when sanding.

Step 2
Next you will paint the picture frame. I used spray paint because it is easy and drys quick. After you paint your picture frame you will need to let it completely dry before moving to the next step (if you check on the paint can it should say the drying time).

Step 3
Take your sandpaper and cut it into 4 squares, then fold one of the squares in half making a sharp point. Then start sanding in the areas that you put the candle wax. If you want your frame to look more distressed keep sanding until you get the amount of exposure that you want.

Step 4
Once you have the perfect look apply a semi-gloss clear coat to seal in the paint.


Leave a Reply