With this project I’m going to show you a simple and cheap way to keep your embroidery floss organized.
I’m always making an effort to keep things organized (not always successful, but intentions count, right?) and recently I decided to put all my embroidery floss into a neat box. The problem? I ran out of the white cardboard bobbins that came with the box above. The solution? Make my own. An so the double sided bobbins came to be. They are useful but also colorful.
Want them too? Download the pdf file at the bottom of my original blog post (http://keepingitrreal.blogspot.com.es/2014/06/embroidery-floss-bobbins-free-printable.html) and follow the simple instructions in this tutorial.
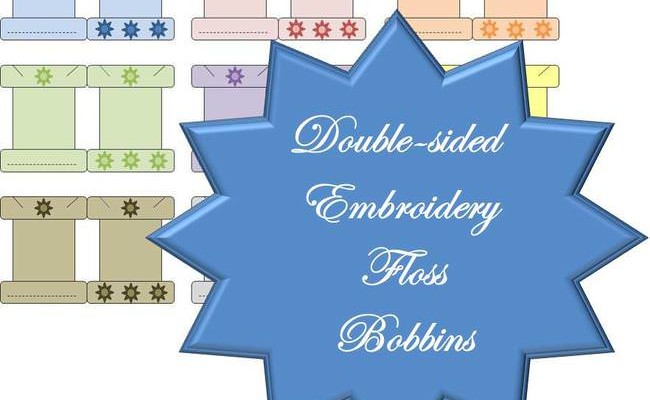
Embroidery floss bobbins – free printable
| Difficulty | Cost | Time | Age | Person | Event |
|---|---|---|---|---|---|
|
Easy
|
$1 to $25
|
30 Minutes
|
-- | -- | -- |
Inspired From:
You Will Need...
- Color printer (black & white also works, but you will miss the colors)
- Paper or light cardboard
- Scissors
- Paper glue
Step by Step Instructions
Step 1
Download file, print and cut the bobbins following the outside lines

Step 2
Fold along the middle and glue

Step 3
Cut the rest of excess paper along your original fold. Repeat as many times as you want (or need)

Gallery
.jpeg)

Leave a Reply