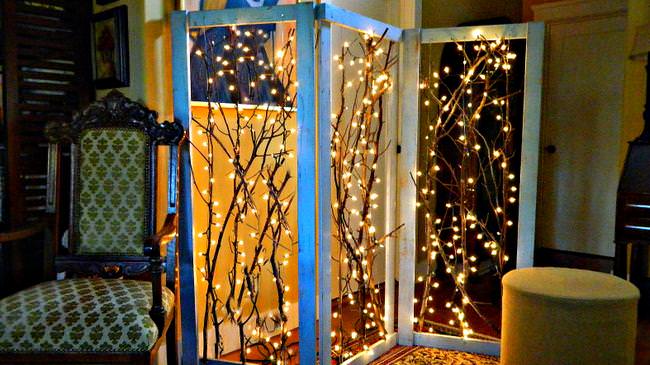
Make a twinkling branches room divider and add some magic to your home decor! Watch the video tutorial here: https://www.youtube.com/watch?v=w0f74ZW4UD4
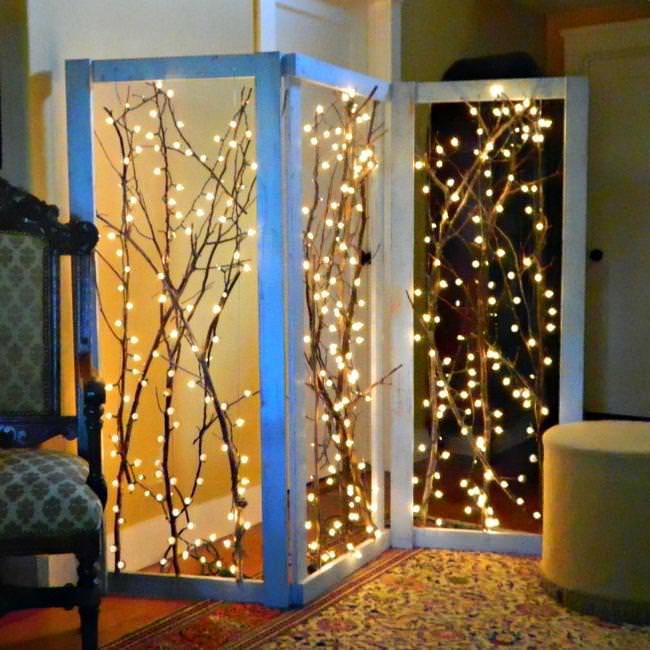
Twinkling Branches Room Divider
| Difficulty | Cost | Time | Age | Person | Event |
|---|---|---|---|---|---|
|
Moderate
|
$25 to $50
|
Full Day
|
-- | -- | -- |
You Will Need...
- 6 - 24" long 1"x3" pine boards
- 6 - 60" long 1"x3" pine boards
- 24 -1 1/4" wood screws
- 18 - 3/4" wood screws
- Drill
- 4 - 2" long hinges
- Thick galvanized wire
- Wire cutters
- Americana Decor Chalky Finish in Rustic and Serene
- Paintbrush
- Wax
- Sanding block
- 12 - 60" long branches
Step by Step Instructions
Step 1
Create four 24″ x 60″ frames by connecting each corner with two 1 1/4″ long wood screws
Connect the frames together using the 2″ long hinges
*make sure that the frames are in a zigzag pattern
Drill three screws on the top and bottom of each frame leaving 1/4″ sticking out
Step 2
Attach the galvanized wire around the 3/4″ screws from top to bottom
on each of the three frames
*You will be attaching the branches to these wires
Paint the edges of the room divider with the Rustic Chalky Finish paint
*You can be messy with this color
When dry, rub wax over the Rustic paint
Paint the entire room divider in the Serene Chalky Finish and let dry
Step 3
Sand the edges of the room divider to expose the Rustic color underneath and to give the room divider a shabby chic/antique feel
Cut about 30 – 5″ long pieces of wire
Attach the branches to the wire that was stretched from the top to the bottom
of each frame of the divider
*Clip the branches that extend over the edges
Wrap the white Christmas tree lights around the branches and plug in!
Gallery

Leave a Reply