Every year (and just about for every holiday) I make my daughter a celebratory T-Shirt. Last year I made a painted striped Bunny T-shirt, but this year I tried something fun and colorful- a watercolor t-shirt transfer.
Watercolor Bunny Printable T-shirt Transfer
| Difficulty | Cost | Time | Age | Person | Event |
|---|---|---|---|---|---|
|
Easy
|
$0 or Free
|
30 Minutes
|
-- | -- | -- |
Inspired From:
You Will Need...
- Plain T-shirt (washed and dried)
- T-Shirt Transfer Paper
- Bunny Printable (available on blog)
- Computer/Printer
- Iron/Ironing boarding and cloth for pressing
- Scissors
- Optional: 1 white pom pom and glue or needle/thread
Step by Step Instructions
Step 1
Turn the iron on to the heat setting specified by your t-shirt transfer paper (they all vary slightly).
Find the center of you t-shirt by folding it in half. This determines the placement of your bunny.
Step 2
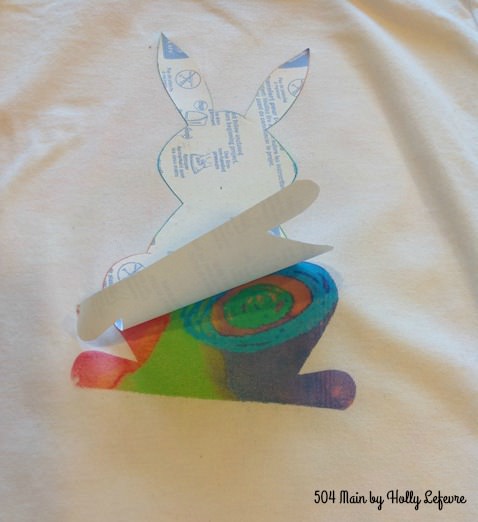
Place the Bunny, printed side down n the T-shirt and iron. Place a pressing cloth over the design. Press firmly with the iron all over the transfer.off. If the backing is sticking, replace the pressing cloth and iron the T-shirt some more. Let cool, slightly and then try to peel the backing off.
Step 3
Hot glue or sew the white pom pom on the bunny for a cute tail.

Step 4
Print the Bunny. I printed mine at 5″ x 7″ size. Be sure to flip the image if you want it to appear exactly as mine does.
Cut the bunny out along the exterior lines.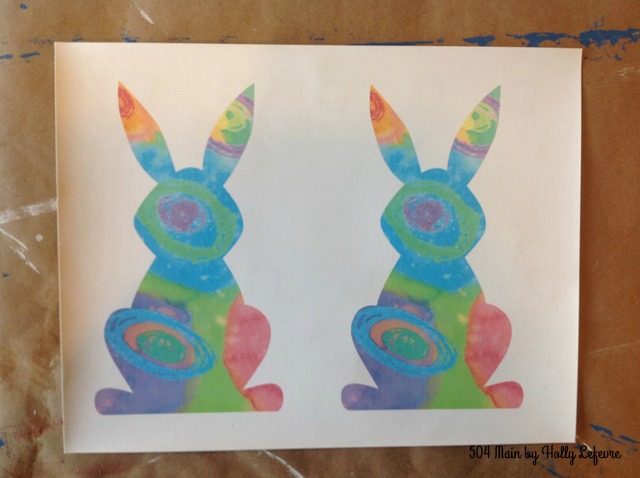
Step 5
Look how easy and fun that is!


Leave a Reply