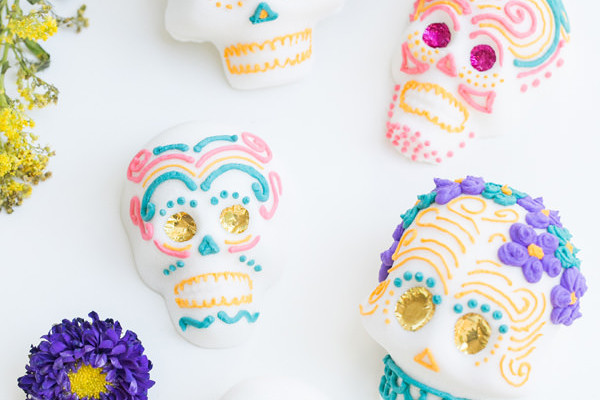
In Mexico, during the Day of the Dead celebrations, sugar skulls and sugar art has been a tradition since the 17th century. They’re created from homemade sugar paste, put into molds, then decorated and placed on real gravestones to honor the return of a spirit. Day of the Dead is a beautiful and colorful celebration that starts at midnight on October 31st and ends November 2nd in Mexico. We decided to make our own sugar skulls. It’s a fun activity for the holidays that lets your mind rest and be creative and it’s a great DIY project for kids too. I personally had a blast making these from start to finish. It took me two days, since the sugar skulls have to dry for 12 hours before decorating, but the time and effort that goes into them is well worth it. They make me smile when I walk past them, haha!
Mexican Sugar Skulls
| Difficulty | Cost | Time | Age | Person | Event |
|---|---|---|---|---|---|
|
Moderate
|
$25 to $50
|
Full Day
|
10-12
13-18 19-24 25-50 4-6 50+ 7-9 |
Adult
Anyone Boy Child Girl Man Woman |
Activity or Game
|
Inspired From:
You Will Need...
- Mexican Sugar Skull Supplies:
- Oaxaca Medium Sugar Skull Mold (this is the 2 sided one, so they can stand)
- Original Medium Sugar Skull Mold
- 8oz jar of meringue powder. Needs to be good quality, so this one (W3504) worked great.
- Assortment of colored foil for the eyes.
- Food coloring paste (do not use food coloring drops, as you won’t get the right coloring). I used: Chartreuse, Royal Blue, Golden Egg Yellow, Purple, Teal and Royal Red.
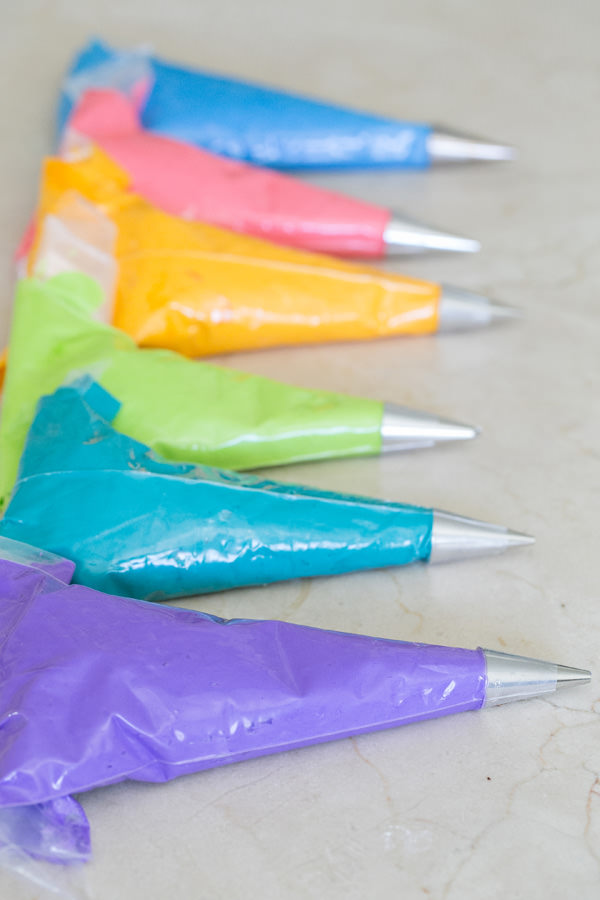
- Disposable icing bags for each frosting
- Decorating tips for each color. I went to a craft store and bought 6 of the smallest circles/holes I could find. I had a little variety, to make tiny lines and then some a little bigger for the flower elements.
- Small pieces of cut cardboard for the sugar skulls to dry on.
- You’ll also need…. a bag of granulated sugar and 2 lb bag of powdered sugar.
- Sugar Skull Recipe (makes about 10 medium sugar skulls)
- 8 cups sugar
- 8 teaspoons meringue powder
- 8 teaspoons water
Step by Step Instructions
Step 1
In a large mixing bowl, combine all of the ingredients. Mix with a wooden spoon at first, then use your hands to thoroughly remove all of the clumps and to create a mixture that holds in your hand when you squeeze it. You will most likely need to mix for about 5 minutes, if not more.

Step 2
Once the mixture can hold a shape, pack it down into the mold tightly. Then place the cardboard behind and gently flip it over to remove the sugar skull onto the cardboard.

Step 3
7 cups powdered sugar
1/2 cup meringue powder
2/3 cup waterIn a stand alone mixer, beat the ingredients for about 5 minutes until it appears to have a fluffy texture. This paste is extremely thick and dries quickly.

Step 4
Have 6 bowls set out to divide the royal icing into equally. While you’re adding food coloring paste to each of them, cover the others with plastic wrap to ensure they stay moist.

Step 5
Add a good amount of gel coloring to each bowl, then mix until incorporated. Cut the tip of the frosting bag and choose a tip you want to use to place inside before you add the frosting. Once the frosting is added, roll down the opening of the bag to close it so the frosting doesn’t dry.

Step 6
While you’re decorating, the frosting in the tips might dry, just use a small needle to unclog them.

Step 7
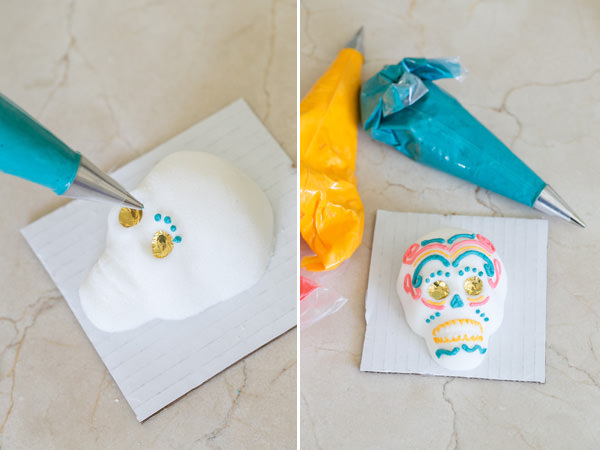
Once you have all of the icings prepared and the sugar skulls are dried, you’re ready to decorate! Have fun!

Gallery


Leave a Reply