How to make a Universal Studios Florida Count Down Calendar using the Silhouette Digital Cutter.
I finally got my Silhouette out of the box and went to town. Dude, can I just say that I adore the Silhouette. That machine rocks my world.
** Tip Junkie readers get an incredible discount for the Silhouette. Use “TIPJUNKIE” to get $125 off the bundle pack. What is a Silhouette and want to know what you can make out of a Silhouette – click here for the Tip Junkie online look book. I’ve got you all hooked up. {snicker}
 Print Free File Here:
Universal Studios Logo (1768 downloads )
Count Down inserts for the roller coaster (1777 downloads )
Here are the supplies and the complete instructions on how to make this fun vacation count down calendar for your own trip to Universal Studios and Harry Potter World.
Supplies Needed:
Theme Park page kit by the Paper Studio
8 – 12×12 brown paper (to match the one in the Theme Park page kit)
2 – colors of 8.5×11 brown paper card-stock (3 dark and 3 light for tracks)
3 – Teal 8.5×11 paper card-stock
3 – Green 8.5×11 paper card-stock
2 – Purple 8.5×11 paper card-stock
2 – Orange 8.5×11 paper card-stock
2 – Yellow 8.5×11 paper card-stock
1 – Black 8.5×11 paper card-stock Poster Board {any color}
Glue stick
Silhouette Files:
Train Track 45 Left Curve Roller Coaster Boarder Frame {enlarged to show 3}
Home Sweet Home Font – SNF Applause
The Roller Track:
1. Cut out the train tracks using the Silhoutte. The darker paper should be for the outside track and the light for the inside track.
2. Glue the tracks together and then make your desired shape. This will help you decide how many cars you need. Or if you’re wanting a specific number of tracks for your count down – then do the opposite. make the cars first, then the track. I ended up using one train track per coaster car.
The Roller Coaster Cars & Pockets:
3. Cut out the roller coaster cars in the blue, purple, green, orange, yellow cardstock using the Silhouette.
4. Make a template for the roller coaster cars {to make the pocket} out of the 12×12 dark brown paper card-stock that matches the background. Glue on a roller coaster car and wheels onto the dark brown paper – then cut it out. Be mindful that you’re making a pocket for the paper inserts so cut the top straight across the top. This way it will blend into the background and make a seamless pocket.
5. Using the template that you just made – cut out as many pockets as you’ll need for your calendar.
6. Use the glue stick to paste the colored roller coaster cars onto the dark brown pockets. Now there’s no need to glue on the wheels, since it’s already your pocket.
7. Cut out the numbers in black paper using the Silhouette and SNF Applause Font and glue onto the cars.
The Background:
8. Use the roller coaster 12×12 paper from your paper pack and 5 of the dark brown 12×12 paper to make your background.
9. Print out the Universal Studios Logo {file above} Then print, cut, and tape together. It will print onto 2 pages) 10. Cut out the “Count Down!” words using the Silhouette SNF Applause Font.
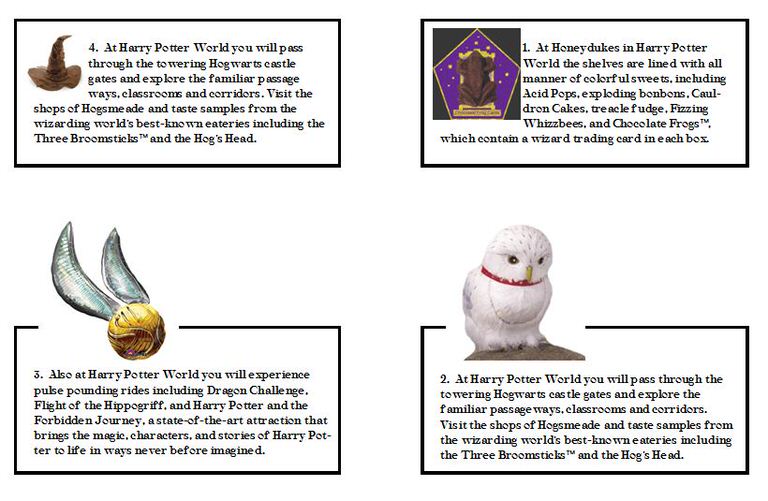
{The file comes with 16 descriptions of rides, shows, and attractions to get to know the park before your trip!}
Putting it All Together:
11. Cut out the House using the Silhouette Home Sweet Home image.
12. Lay everything out on your poster board before you start gluing. This will give you an idea of how wide you need to make your background and what shape you’ll make your track.
13. To make your background glue the 12×12 dark brown paper, the width that you need for your roller coaster onto the poster board.
14. For the stripes on the outside edge, I cut the striped paper (from the roller coaster party pack) into 1 1/2″ strips of paper and glued it from the back onto the brown background paper.
15. Glue the track onto the background.
16. Glue roller coaster pockets onto the track – but only put glue onto the 3 sides sparingly. This way it will form a pocket and you’ll be able to slip in your pieces of paper describing each roller coaster.
17. Print out the roller coaster car descriptions and characters. Use this file. Then glue on the characters onto the corresponding cars. (This is optional – you loose a little bit of the “polish” from the calendar – but my kiddos voted yes on the characters – so I pasted them into the seats of each car.) {{ printable file above}}
18. Laminate – This is optional. When I laminated it, the machine didn’t work properly and therefore most of the poster board didn’t have a nice finish. {grrrr.}} If you laminate it – then take scissors and carefully cut a slit at the top of each pocket to put in your paper. 😉
19. Lastly, cut out the count down descriptions of each coaster and pop them into their corresponding pocket.
Every day my boys have been taking out a piece of paper and learning about a ride, show, or place to eat at Universal Studios Florida. Oh my goodness we are so flippin’ excited!
The boys have read up to book 5 in the Harry Potter series and we’ve been re-watching the movies together. It’s been a really fun bonding experience for all of us as we count down to a fun filled week in Orlando. If you have a vacation countdown over on your blog, wed love to see it! Feel free to leave your link here in the comments or on the Tip Junkie Facebook page. We can’t wait to see it!
Creating Memories that Endure,
Laurie


Leave a Reply