How to make a Dinosaur Play Mat out of felt. Vacation is coming up and I’ve been working hard to come up with some ideas to keep my kids entertained on our various trips this summer.
Since my kids love dinosaurs I decided to make a dinosaur play mat that we could take along with us on our trips.
I kept it small (8 1/2″ x 11″) — just the right size for the fold down trays on the airplane or for your lap.

First I drew up a template. I made it the mirror image of what I wanted the end result to be.

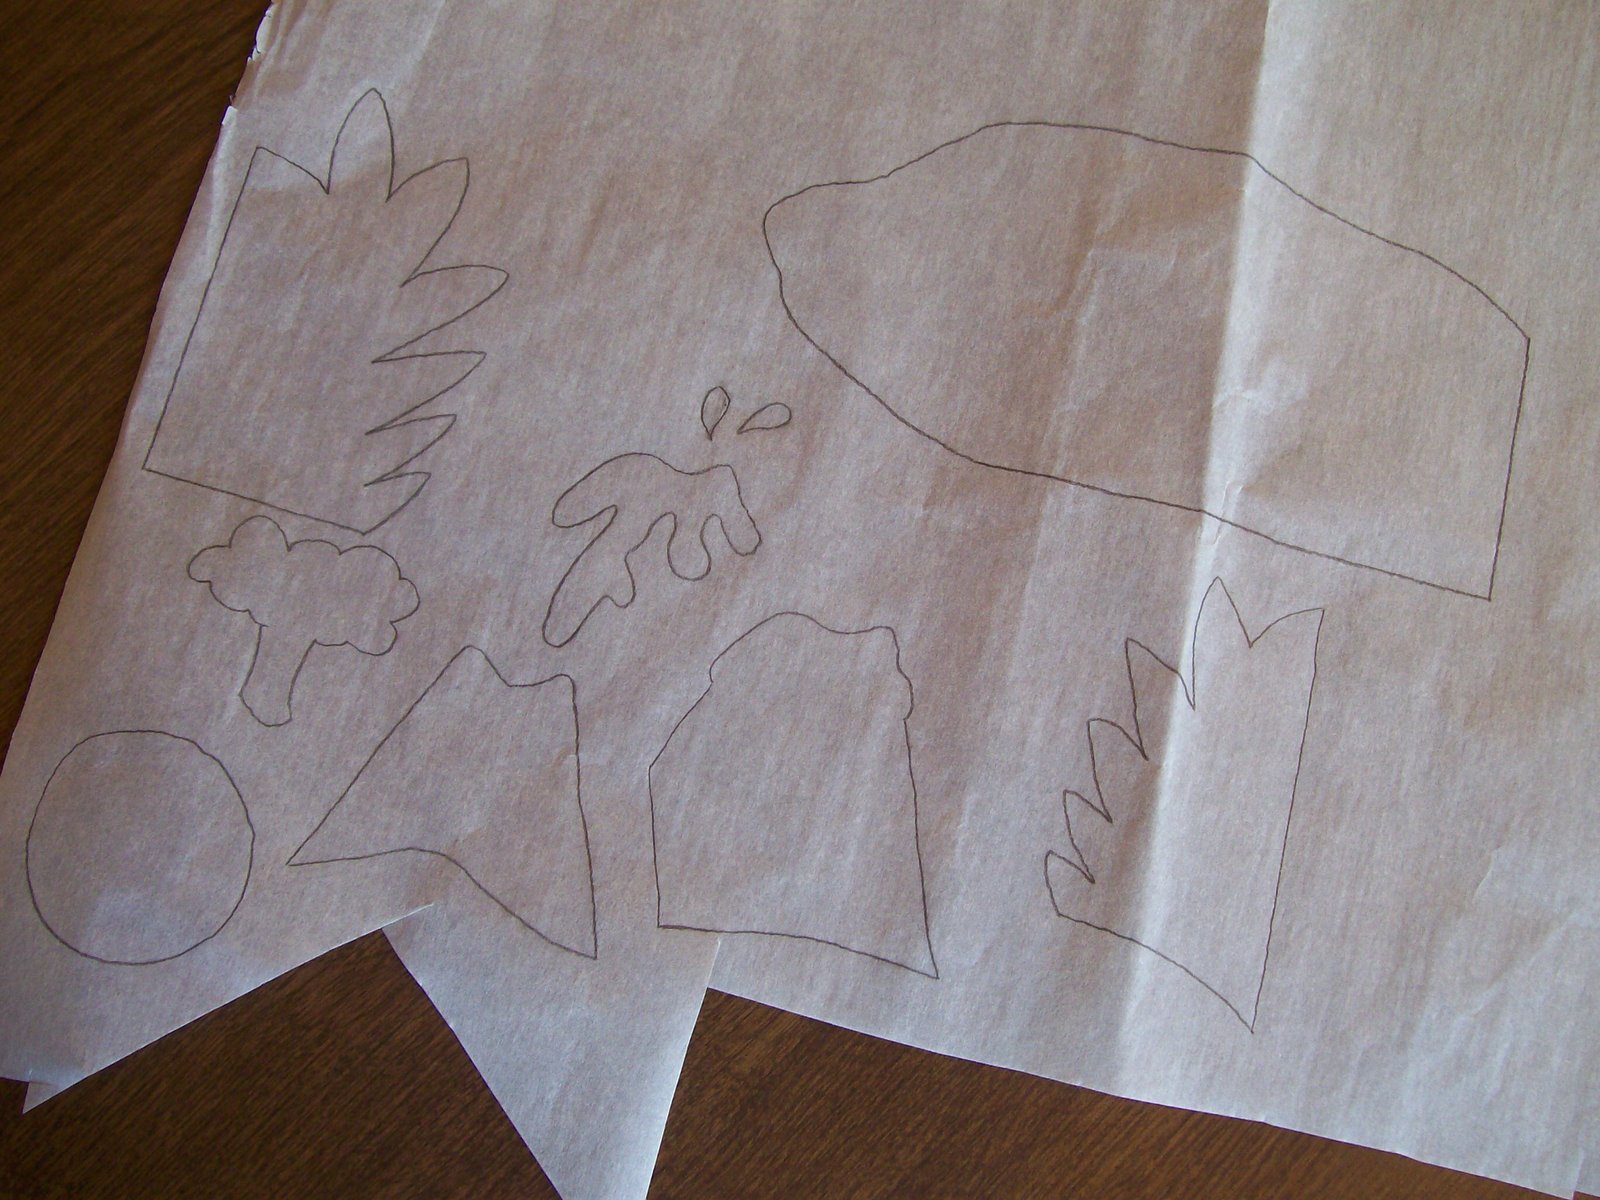
I then cut around each piece. I purposely didn’t cut on the line at this point. It makes it easier when cutting out the felt.
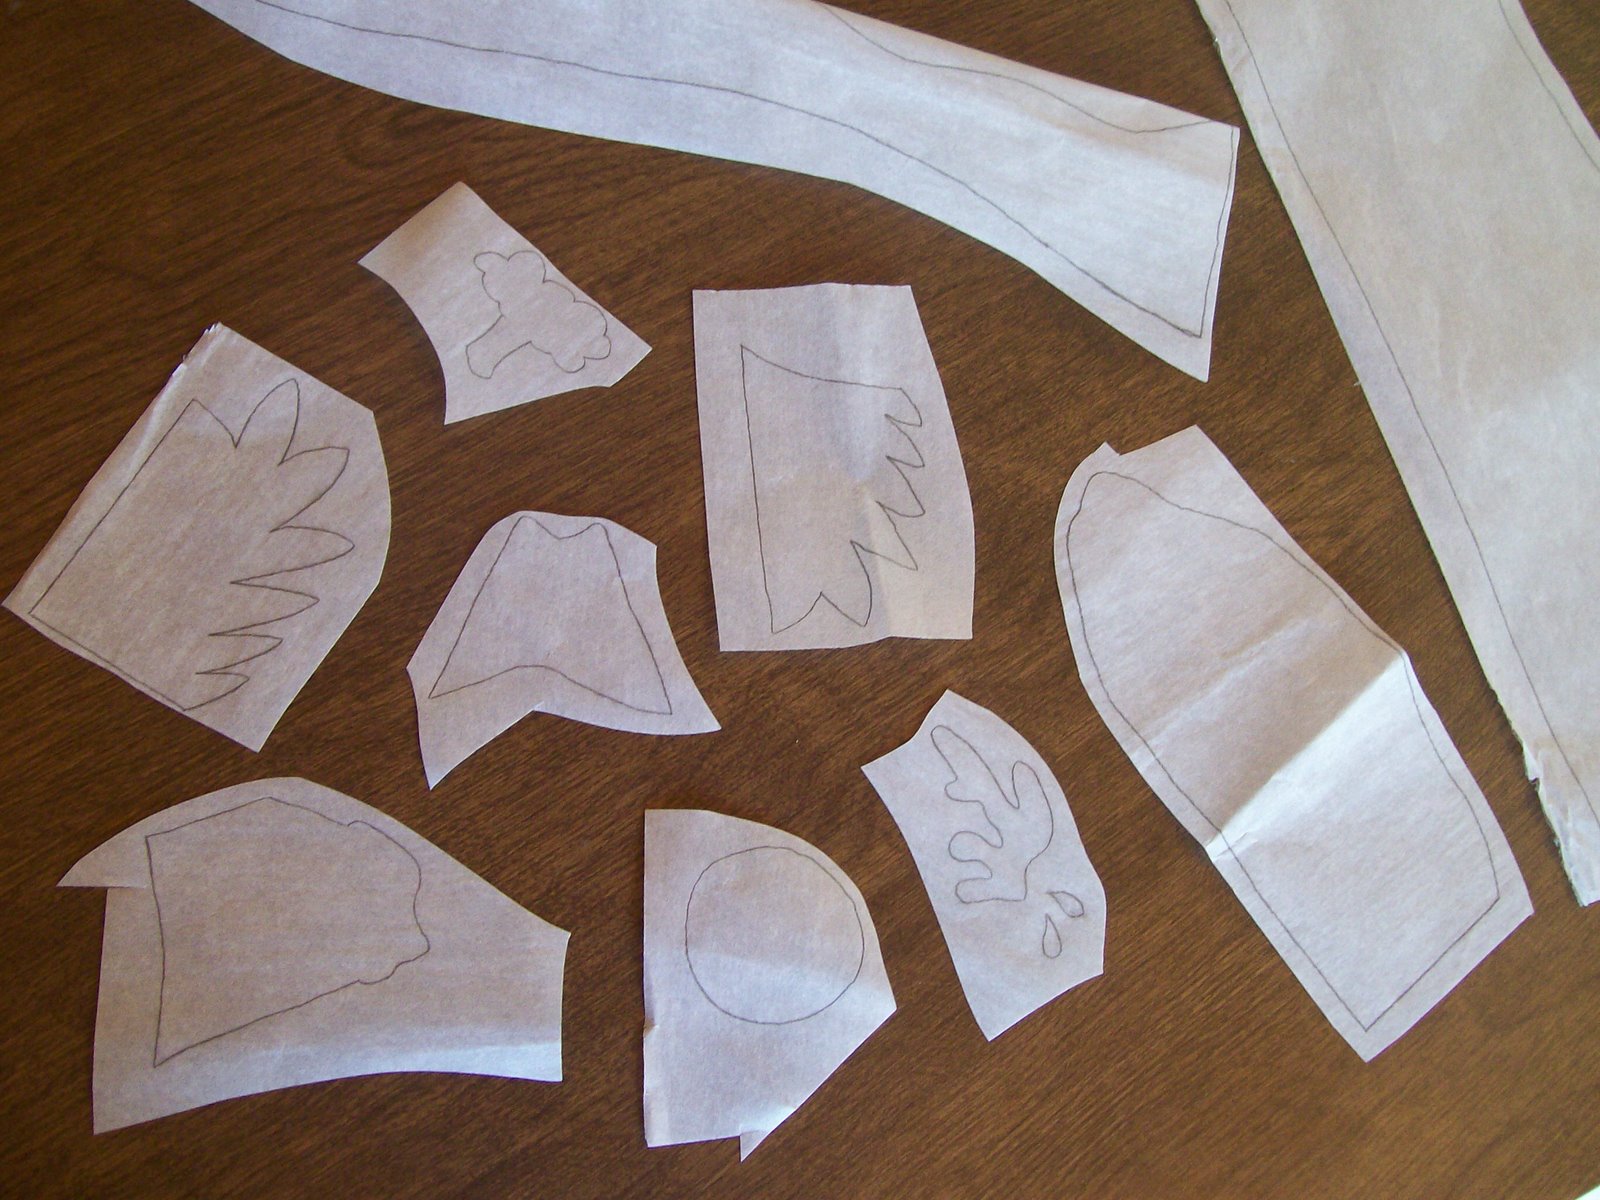
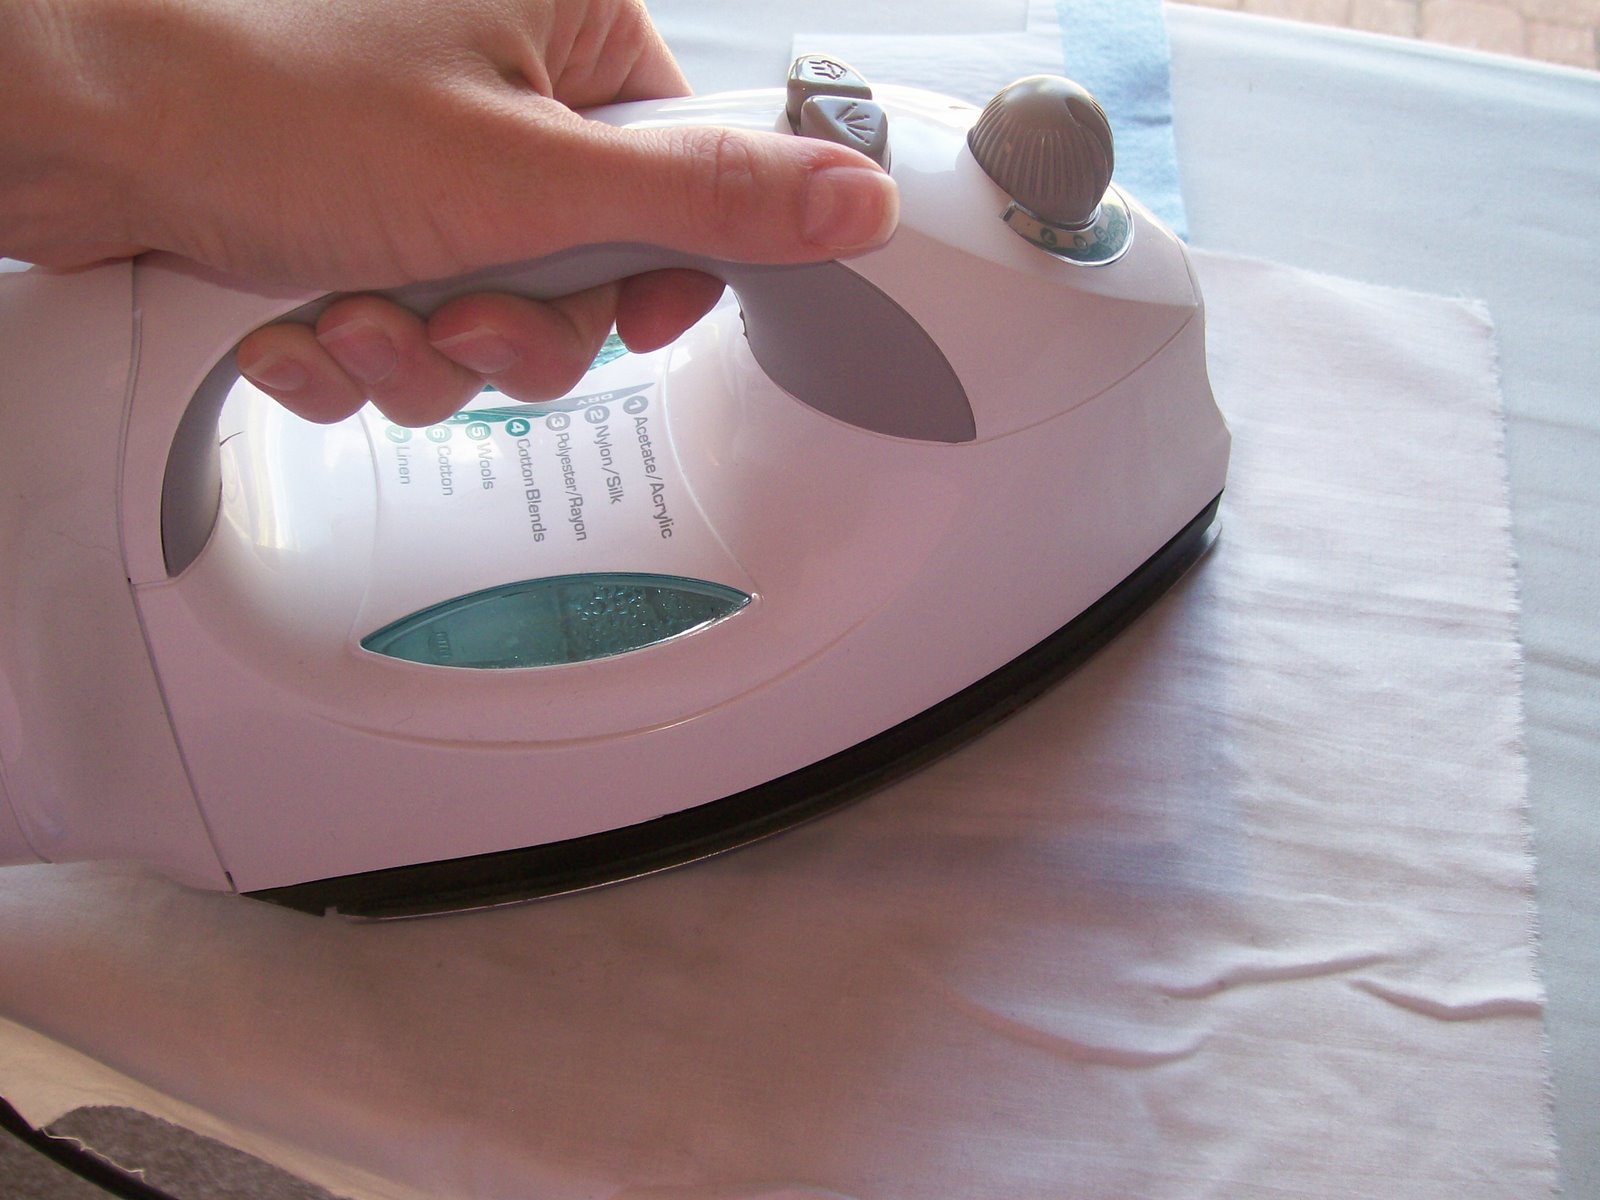
I then placed each piece on the color felt I wanted . . .

and ironed it on. I always use a press cloth when doing this. It keeps my iron from getting ruined and protects my project from melting from too much heat. Always spray a little water on your press cloth before you iron.
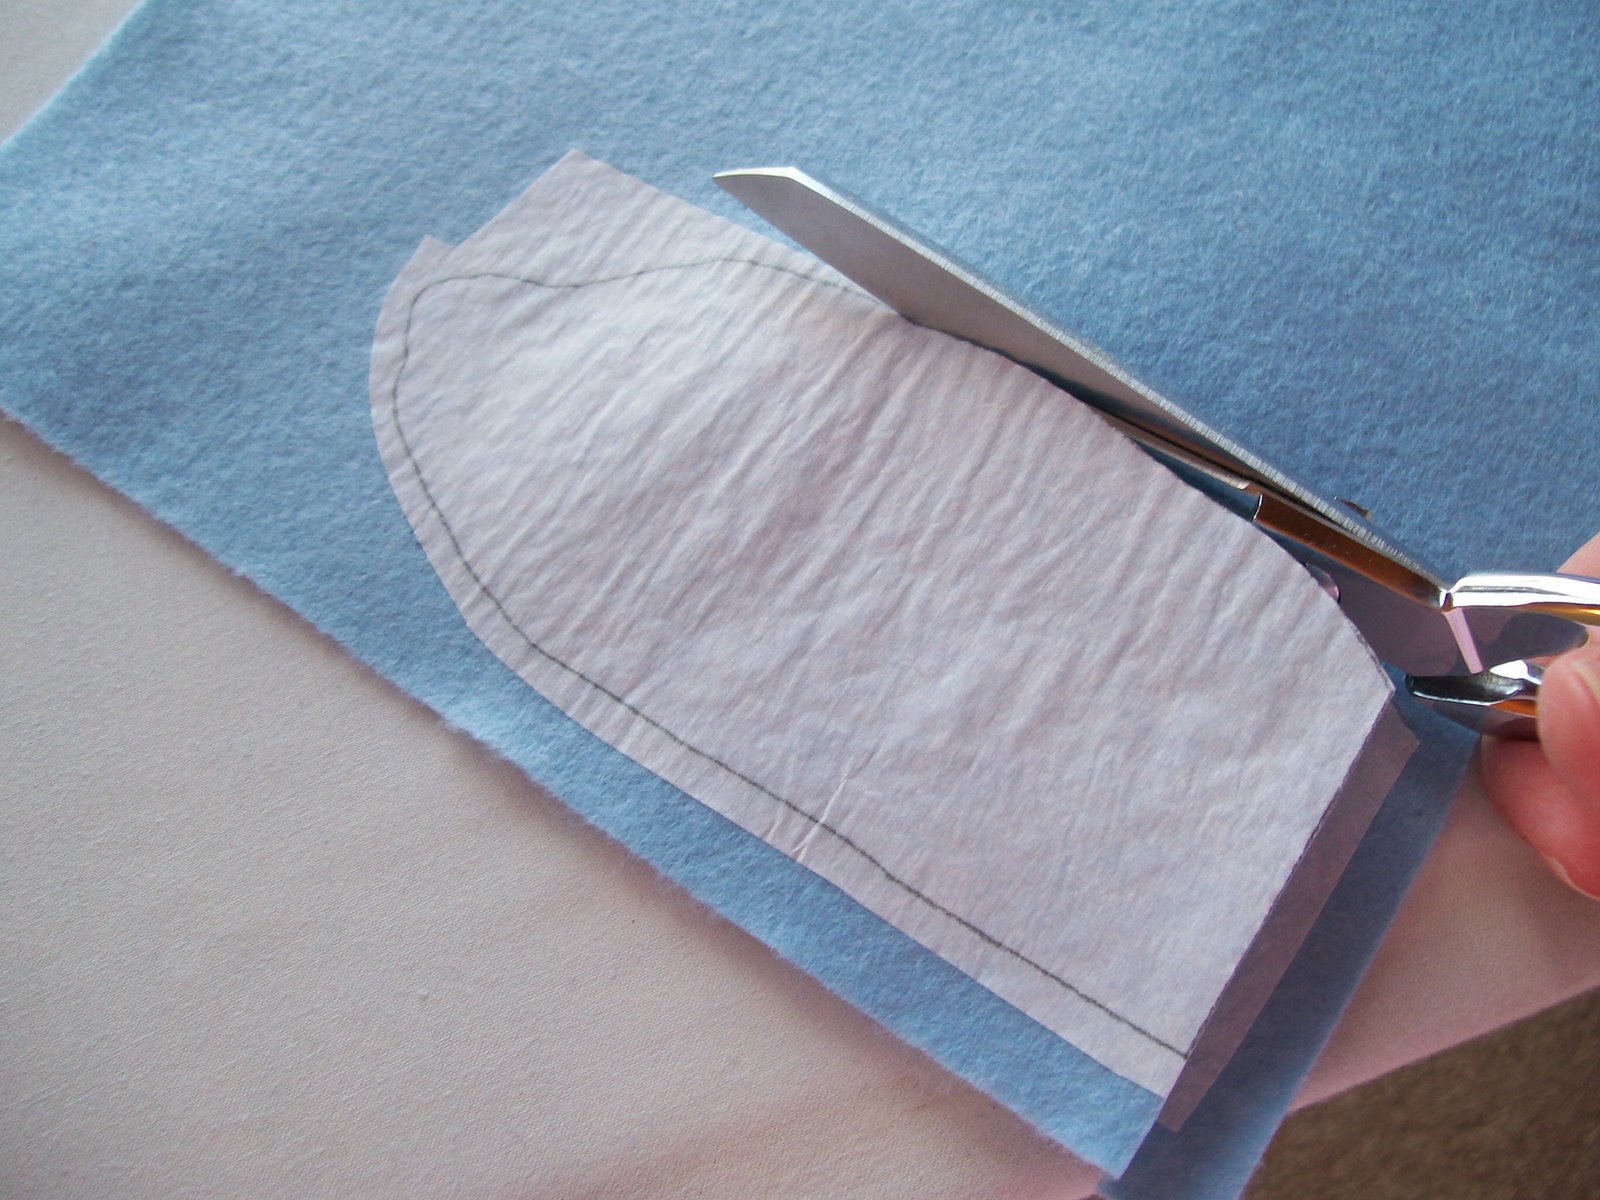
I then cut each piece out on the line. I find it’s best to wait about an hour after I’ve applied the Wonder Under before I peel the backing off. If I try to do it right away it’s hard to peel, but after I’ve given it some time to cool it come right off.
After you have all your pieces lined with Wonder Under and cut out . . .

You’re ready to assemble your picture on the blue felt. Once everything’s lined up and where you want it cover your project with your press cloth, spray a little water and get those pieces ironed on. I did mine is phases, ironing and securing on the bottom layer first and then ironing the others after that.

I then trimmed the excess blue felt off, added a backing, and did a zig-zag stitch all the way around to bind them together.
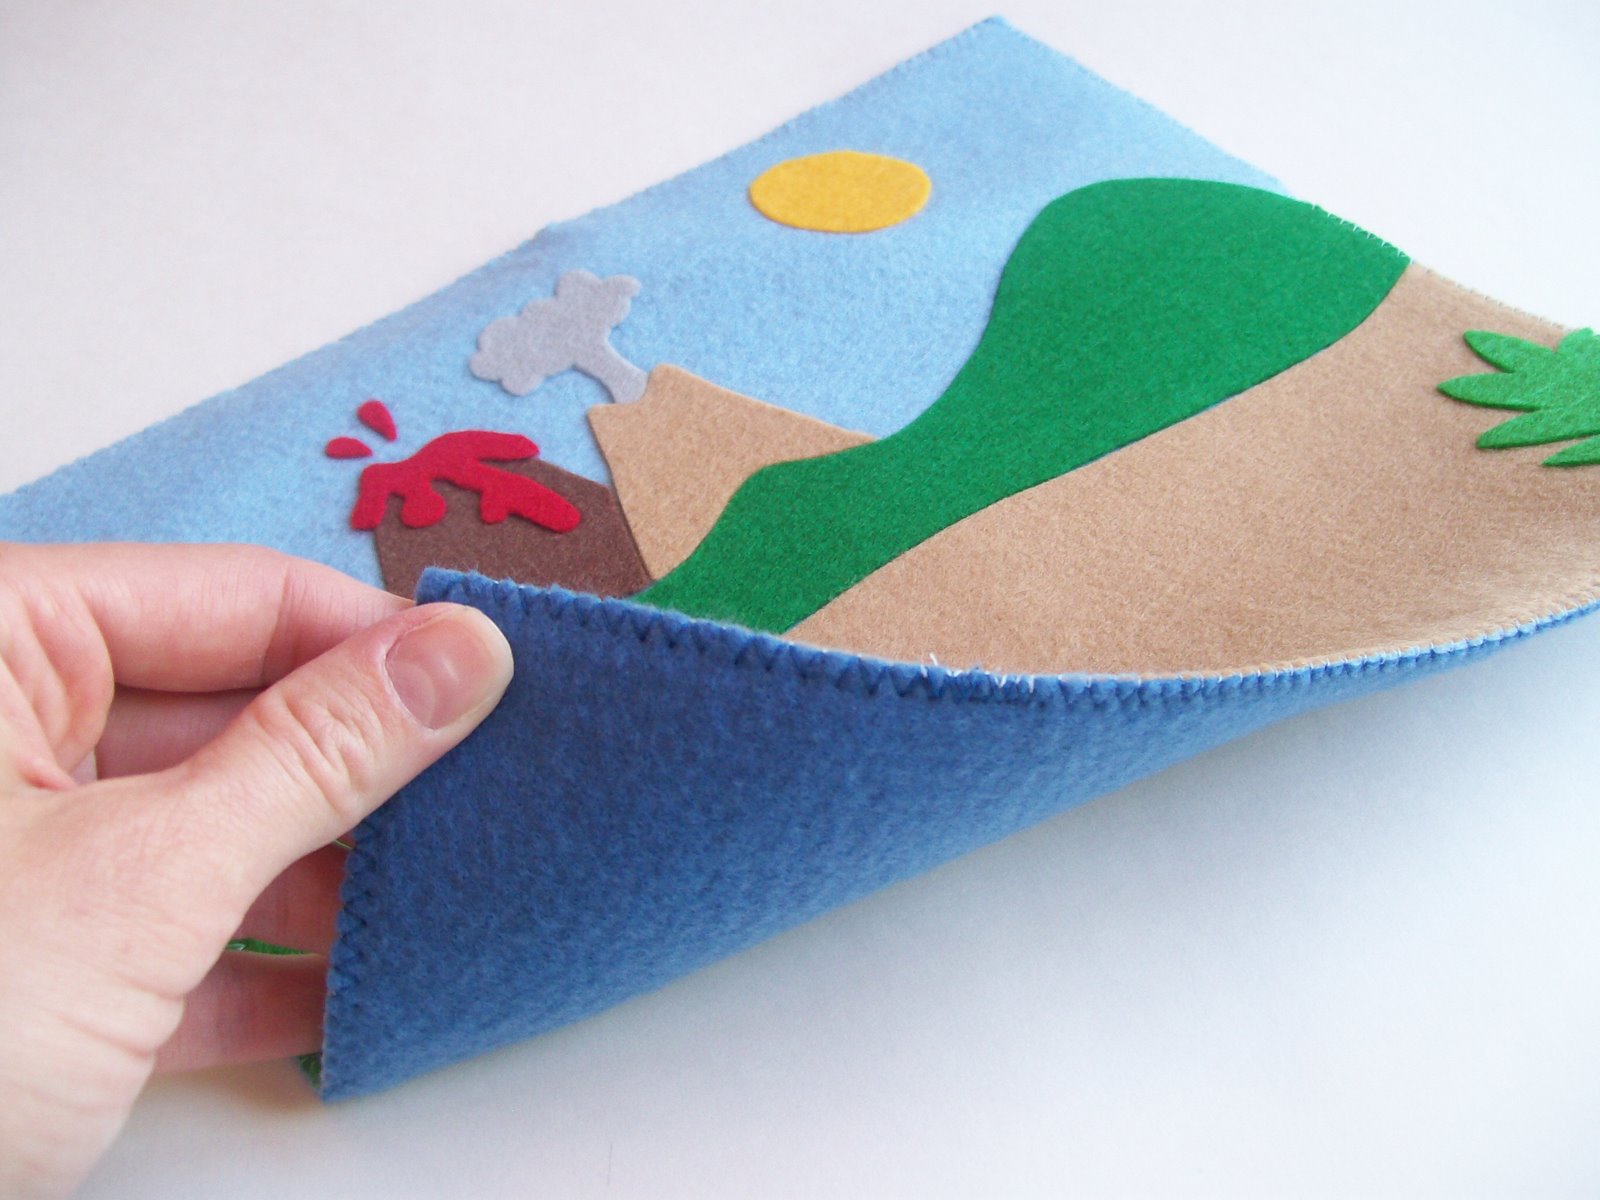
All Done . . .
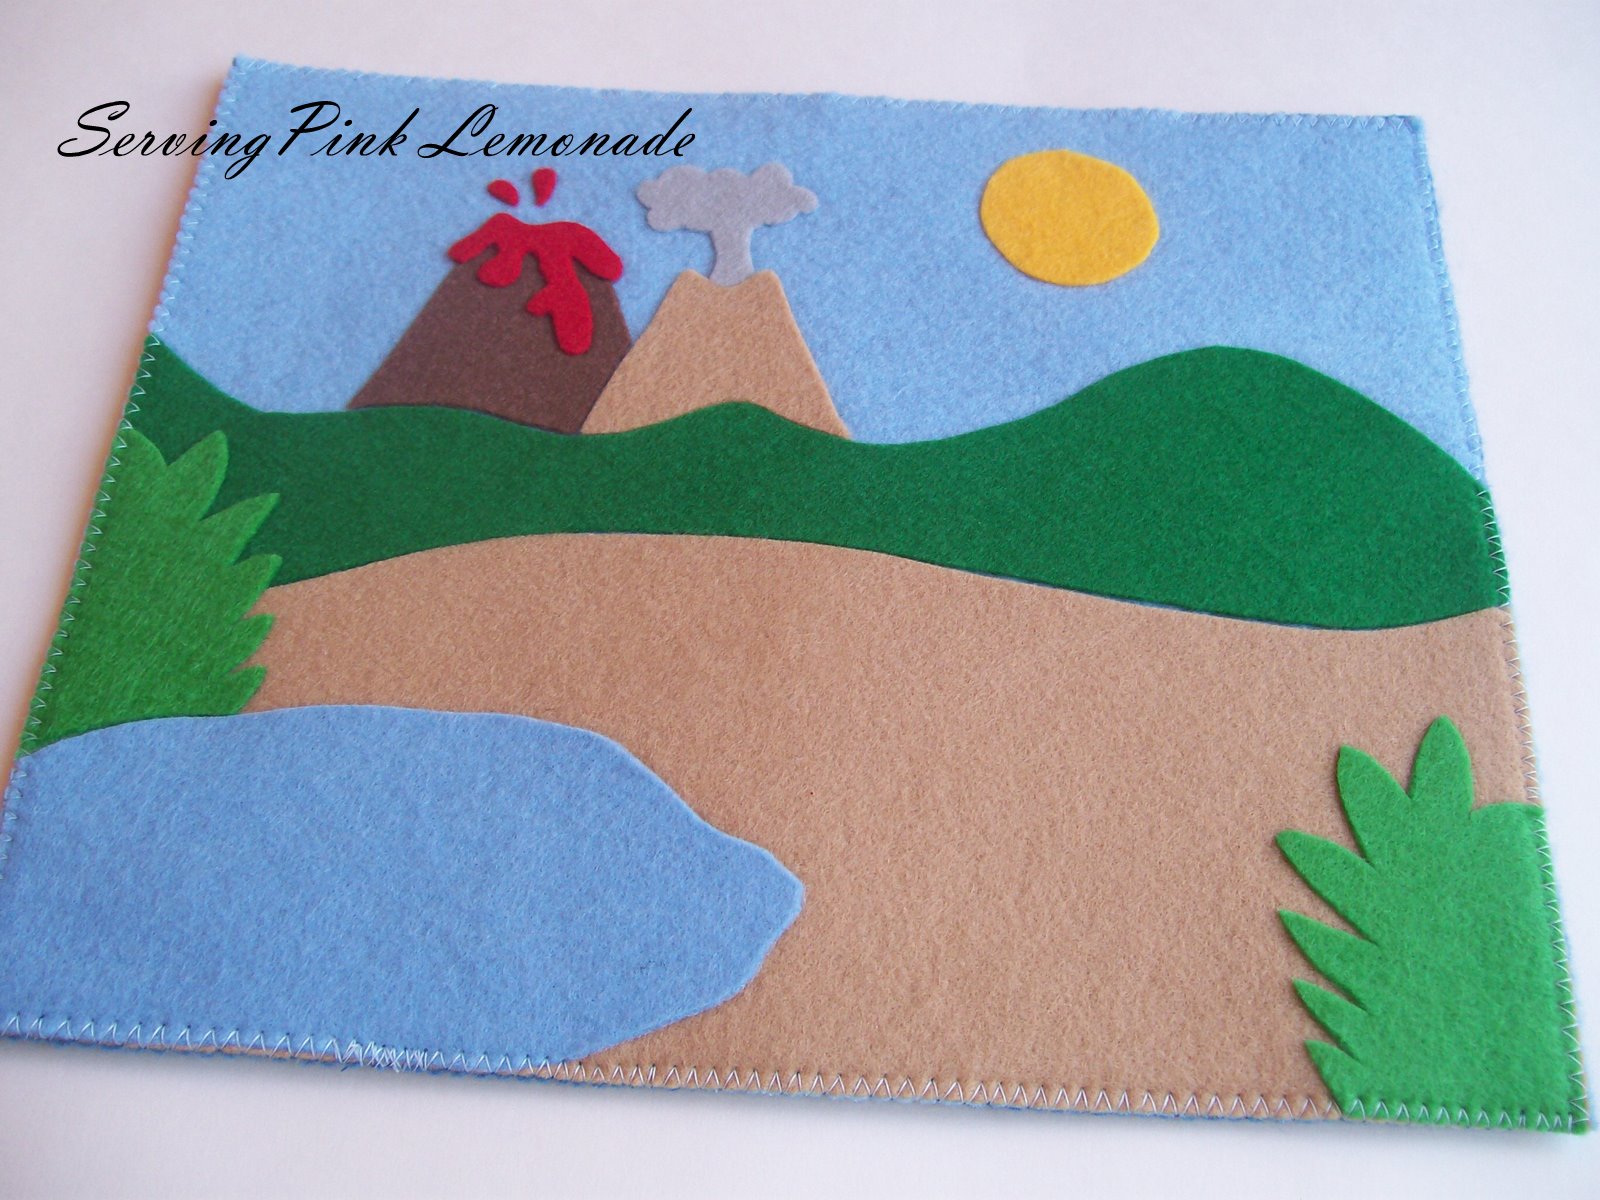
And ready for some serious dinosaur travel play!

Hope that makes sense. It really is an easy-peasy project. All you have to know how to do is tract, cut, and iron. Let me know if you have any questions . . .

Leave a Reply