It’s time to learn how to crochet a circle. {whoohoo!} Now that you’ve learned the basics of hooks, yarn and gauge, and the foundational crochet stitches, you are ready to tackle just about any project! There are just a few more things I’d like to share, however, because they are techniques I wish someone had taught me when I was learning. This post will focus on one of them: how to crochet a circle.
How To Crochet A Circle

Why Crochet in the Round?
Though I love nothing more than finishing a project, the actual “finishing” of crochet is my least favorite thing. I just don’t like weaving in all the ends and seaming the pieces. Whenever I follow a pattern, or design one of my own, I try to reduce the number of places for breaking the yarn and attaching new yarn to cut down on the literal loose ends. I also love patterns that are worked “in the round” because it means less seaming, and sometimes seamless! Not only does it save time, but the result is often more comfortable to wear (this is especially true of baby sweaters). Hooray!
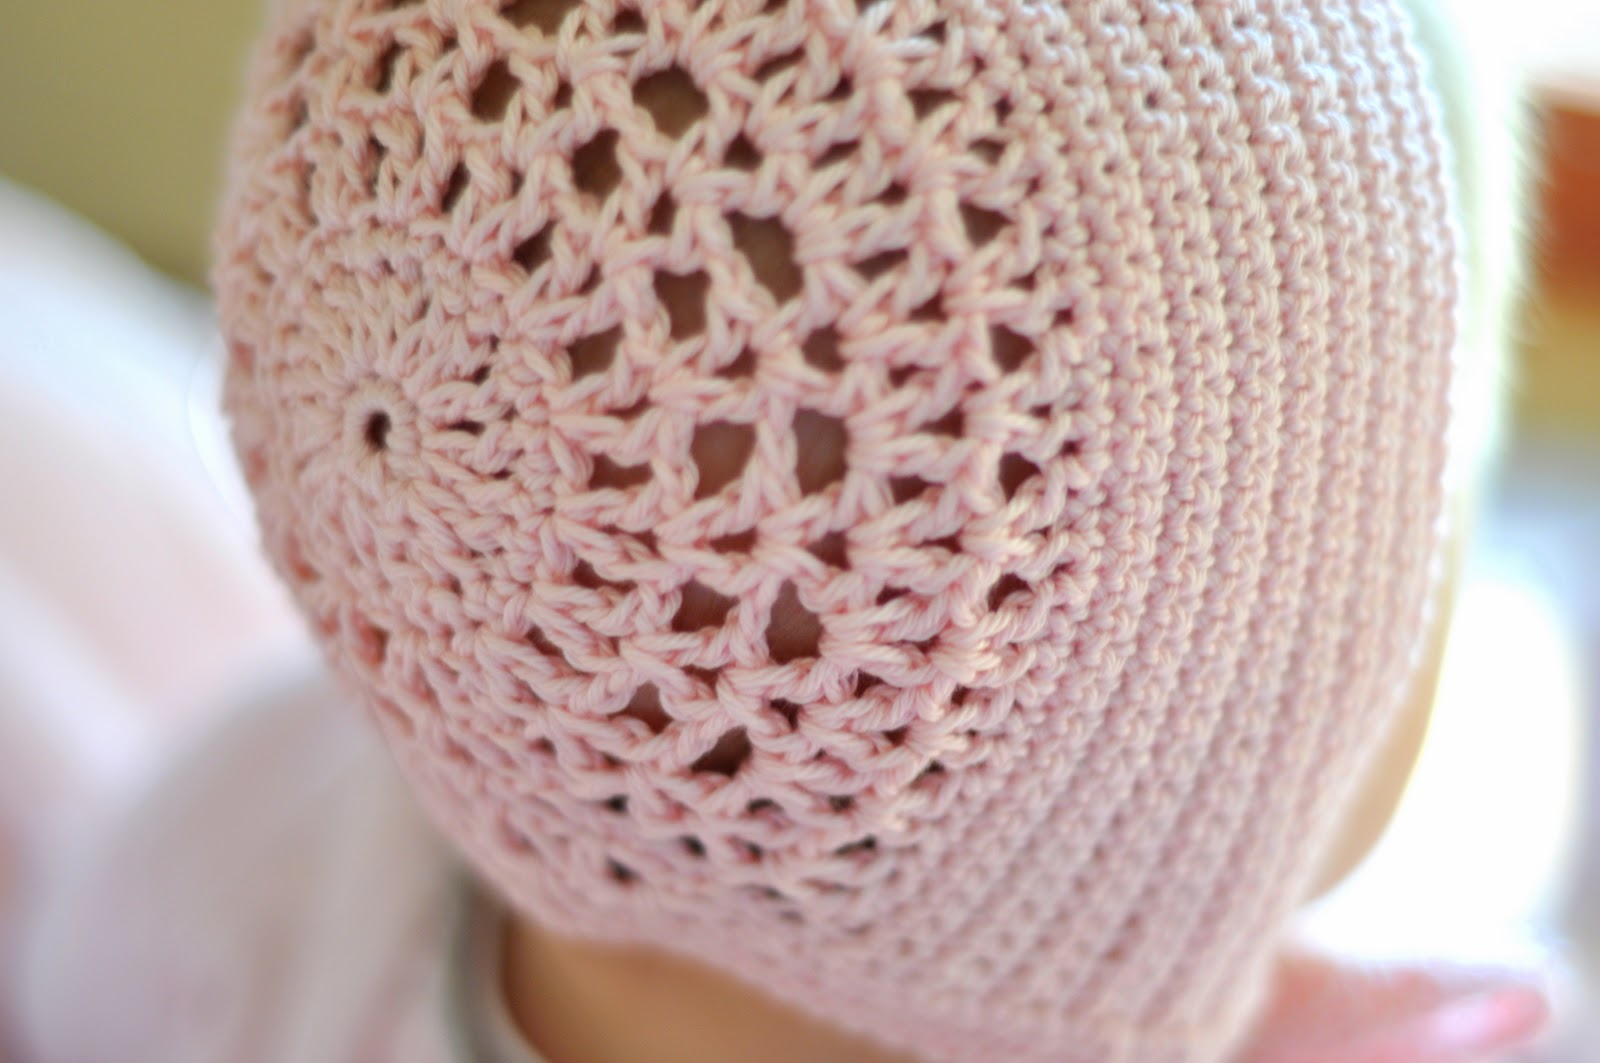
What Does It Look Like?
Working in the round is just like it sounds: rather than working back and forth in rows you work in a circular pattern to create a shape that is either flat, like a disc (think hot pad or doily), or tubular (think cowl), or conical (think booties or hat). It is typically the way you create crochet flowers–one of my favorite embellishments. Ironically, you also need to work in the round to make a granny square (learn how to make one here). Hopefully just these few project mentions have persuaded you to give it a try. It’s easy, and it opens up the possibilites of things you can do with yarn and a hook.
Round Crocheting Patterns
Working in the round starts with a chain that you join with a slip stitch (abbreviated sl st) to form a loop. A pattern will direct you to chain a certain number, let’s say 5 for instance, and then slip stitch into the beginning chain to form a loop. To slip stitch, insert your hook into the chain stitch as you would with a single crochet, yarn over, and then pull the yarn through both loops on your hook at once. You will be left with one loop, the working loop on your hook.

To start your first row, or “round,” you will need to create a turning chain. A pattern will direct you to chain 1 or chain 2 or even 3 depending on which stitch comes next (sc, dc, or tc). It will also tell you whether or not to count this chain as the first stitch in the round.
After the initial turning chain, instead of working into the chain stitches, you will work into the loop by inserting the hook through the center. You will work a number of stitches this way to complete the round. The stitches will slide along this loop a bit, and you will want to move them to the aside as you increase the number of stitches in the circle. Once you add rounds this first round of stitches will stabilize.
You will complete the first round, and every subsequent one with a slip stitch into the top of the beginning chain stitch, or into the round, as directed by the pattern. There is an exception to this and that is for patterns that work in a spiral. View a photo tutorial of working in the round here and a video here.

Joining a chain to form a loop is the most popular way of starting crochet in the round, but there are two other methods you can learn about here, including one to form an adjustable or “magic” ring.
A disc-shaped project will increase stitches in a regular interval on each round to keep the project flat. A tubular project will start with a longer chain for a bigger loop and maintain the same, or close to the same, number of stitches on each round. A conical shaped project will increase for a bit to get the desired circumference and then maintain the stitch count to add length (think hat). Of course you don’t really need to remember this as a pattern will direct your increases and stitch count on each row, but I think it’s fun and helpful when it comes to troubleshooting (or pattern designing!) to understand how shaping works.
Patterns to Try Crochet in the Round
If you are ready to give this technique a try, a good place to start is this Pretty Posy pattern. Crochet flowers are such a great embellishment for all sorts of things and this one is both fast and easy. Here’s a pattern for a simple baby hat. And here is a basic crochet cowl pattern. As with any pattern I recommend counting your stitches on each round to make certain your work is progressing as it should.
Have fun in the round! Next post I’ll introduce you to a few popular stitch patterns…
Step 2: Basic Crochet Stitches and a Ruffled Scarf Pattern
 Anneliese shares her creative, authentic, and inspiring creations at Aesthetic Nest. She is driven to beautify the space around her, and has a knack for creating gorgeous, original items that enhance her space. At Aesthetic Nest, youll find a creative journal where Anneliese showcases things she makes including sewing, knitting, crochet, cooking, painting (not often enough), room decorating, and party designing.

Hi my name is Dadra Henry and I have been looking for this pattern forever ,months, with no luck and bought several books. Annie Attic’s refuse to let it out.
Try it, you will love it!
Good post on how to crochet a circle. It does seem that it involves much less seaming. Thanks for the post.