A how to on creating a unique, yet adorable jewelry holder to organize all the jewelry in your life that doesn’t seem to quite fit in your jewelry box anymore.
DIY Jewelry Holder
| Difficulty | Cost | Time | Age | Person | Event |
|---|---|---|---|---|---|
|
Moderate
|
$1 to $25
|
30 Minutes
|
-- | -- | -- |
Inspired From:
You Will Need...
- Picture Frame
- Acrylic Paint in the color of your choosing
- Paint Brushes
- Polycrylic protective finish
- Thumb Tacks (2)
- Cup Hooks
- Sandpaper
- Jewelry Wire
- Hammer / Measuring Tape
- Ribbon
- Optional- Vinyl Lettering*
- Optional- Nail Polish*
Step by Step Instructions
Step 1
You’ll want to make sure you have all the supplies at hand because from my experience this simple project will turn into an all day ordeal if you don’t. The picture frame you choose needs to be thick enough so that a cup hook will be able to screw through it without causing the wood to crack or warp. I used a black picture frame that was put away in the closet that had the vinyl lettering* already done for me, but i’m sure there are tons of you tube videos that could show you the steps to achieving this look if this is something you might want to do.
Side note: The beauty of this project is that you can customize it to your liking so if you didn’t want to use the vinyl lettering or the glass that is always an option and would still look just as cute.

Step 2
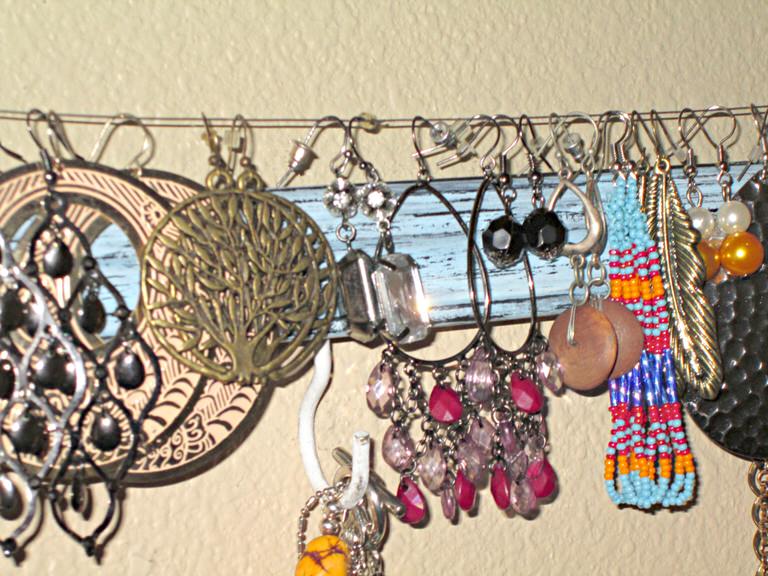
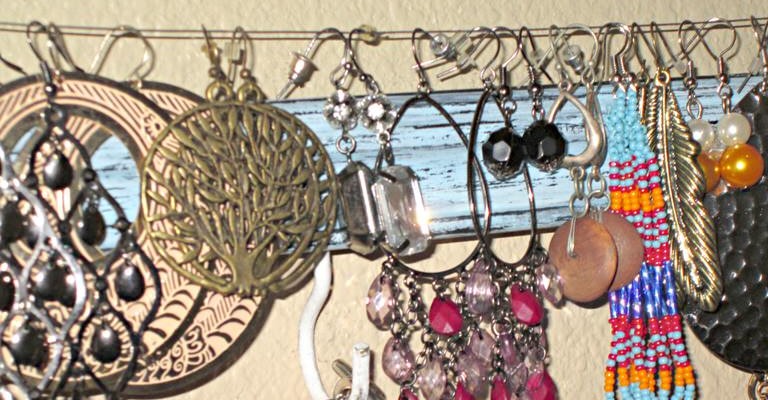
Next I did the earring holder by cutting off a long enough piece of the jewelry wire in order to have some excess to wrap around the thumb tacks. I used a measuring tape to make sure the tacks lined up but this part is really simple once you know where you want the tack just push it in far enough to stay but leaving enough space to wrap your wire around it a few times before hammering it all the way into place. You will need to make sure your wire is straightened and pulled taut before securing the other end which is done the exact same way as the first, once done cut away the excess wire. Next I got some gold nail polish* and painted the tacks, although this step isn’t necessary it definitely adds to the look.
Side Note: If you chose to do this without the vinyl lettering you can add a few more earring holders as you see fit. The only reason I did one was because it was all that would fit below my word.
Step 3
I chose to make a hanger for my jewelry holder, but it is totally up to you whether you do this step or not. All I did was take a long piece of jewelry wire and twist it in half to where one side had a loop and then cut a piece of ribbon and stared wrapping it around the wire. I secured the ribbon by making sure it was inside the metal loop where I placed the thumbtack to keep it in place while on the other side I put the thumbtack where I wanted it and wrapped the wire around it a few times cutting away the excess.
Side note: I am not hanging my jewelry holder by the hanger, but rather by the picture frame holder on the back because the hanger was solely for the purpose of decor.
Gallery


Leave a Reply