Reusing ordinary boxes & making them useful again is a fun craft idea. I don’t usually throw out beautiful plain boxes. I prefer decorating them with available craft supplies. After decorating any box, You can organize something inside or use it as a gift box too. Decoupage is a very interesting paper crafting technique as well. Let’s design something fun today!
How To Decoupage and Design An Ordinary Box
| Difficulty | Cost | Time | Age | Person | Event |
|---|---|---|---|---|---|
|
A Kid Can Make
|
$1 to $25
|
30 Minutes
|
10-12
13-18 19-24 25-50 |
Anyone
Teacher Woman |
Homemade Gift
|
Author's Blog:
People Who Helped:
You Will Need...
- 1 Box
- 3 Paper Doilies
- 2 Decoupage Sheets
- Scissors
- Mod Podge Glue
- Butterfly Punch
- Glitter Sheet
- Foam Brush Applicator
- Rhinestones
Step by Step Instructions
Step 1
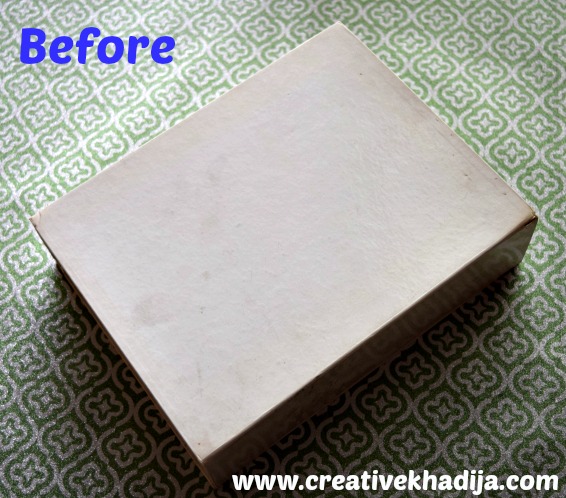
Have a look at this plain ordinary box which I am going to decorate & decoupage today.

Step 2
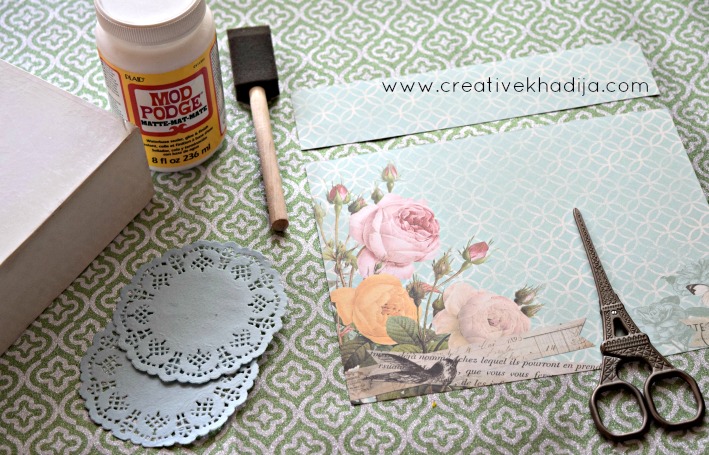
Gather these supplies & start working on decorating the box. You can choose any decoupage paper or scrapbook sheets. Any beautiful pattern of paper which you have in your craft stash will work the best hopefully. You can also try any other transparent glue but I will recommend Mod Podge as it’s perfect for decoupage projects. If you don’t have any foam brush applicator, you can try any other brush too.

Step 3
Cut paper sheet according to the size of your box. Measure dimensions of box & then carefully cut the paper pieces & strips.

Step 4
Apply some glue on the surface & Paste the sheet on the box. Make sure there are no wrinkles on the paper sheet while pasting.

Step 5
Cover the sides of the box with paper strips which we’ve cut according to the size of box already. Paste them well & let it dry.

Step 6
As it gets dry, then paste some rhinestones on the opening side of the box.

Step 7
Now cut some foamic sheets butterfly with the help of a paper punch. They will be giving some 2D & embossed look.

Step 8
Let’s start pasting these cute butterflies on the box. I cut one butterfly half & applied.

Step 9
After pasting this paper doily on the top of the box, I’ve pasted a half butterfly like it’s flying or sitting on it. A pearl rhinestone is also used here.

Step 10
Here you can see top part of the box is designed in a few easy steps.

Step 11
I cut one doily in 4 pieces & pasted these on the sides of the box. I have also used floral shaped little flower rhinestone here.

Step 12
Box is ready, Let’s have a look at it’s before & after version. Isn’t it looking cute now? This can be a perfect gift box as well as useful for organizing your jewelry or other small goodies inside.

Gallery


It’s beautiful! I have done similar using Panera bread boxes.