Turn a few pieces of wood into a beautiful butterfly tray that’s perfect for entertaining or jazzing up your home decor! See how easy it is to make in this fun video tutorial:
DIY Resin Butterfly Tray Tutorial [video]
| Difficulty | Cost | Time | Age | Person | Event |
|---|---|---|---|---|---|
|
Moderate
|
$25 to $50
|
Full Day
|
19-24
25-50 |
Adult
Anyone |
Decorate
Dinner Party Homemade Gift |
Inspired From:
Step by Step Instructions
Step 1
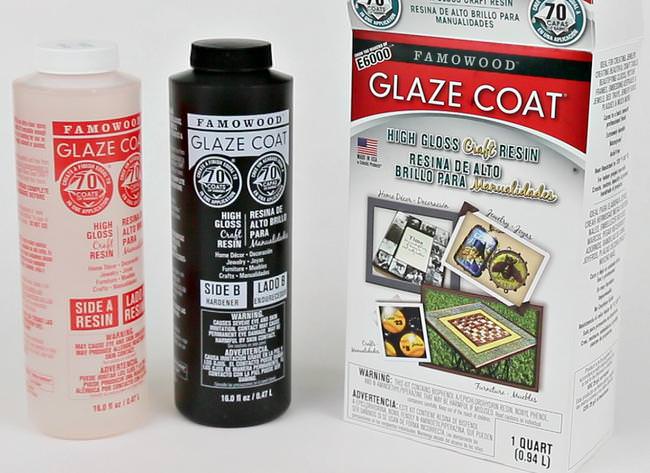
The new craft Glaze Coat resin from E-6000
Step 2
1. Nail your tray together using 1″ long nails
2. Sand the edges so they’re even and smooth
3. Paint the base with Americana Decor Metallics in Antique Brass
4. Paint the edges and bottom with Americana Decor Satin Enamels in True Teal
5. Cut out your butterfly images
6. & 7. Decoupage the butterflies to the base of the tray and let dry
*Mist each butterfly with a spray bottle to relax the paper to prevent bubbles
*Finish with a generous coat of decoupage over all of the images and on the inside edges of the tray
8. Add brass corners (this step is optional but I think it makes the tray look expensive and chic!)
9. & 10. Nail in the 1″ x 1″ wood pieces on the sides for handles and then paint in the True Teal
11. Mix the Glaze Coat resin and pour evenly in the base of the tray
*Spread with a sponge brush to help even it out
12. Pop the bubbles with a small torch OR long arm lighter and let cure overnight
Gallery


Leave a Reply