The pros to spray paint is that there is hardly any clean up, it will stick to nearly anything, and the dry time is much faster than latex paint. The cons are that there are limited colors and it can be a little more pricey if you have a large project. Sometimes the convenience is worth the little extra cost. So, let’s Get Started!

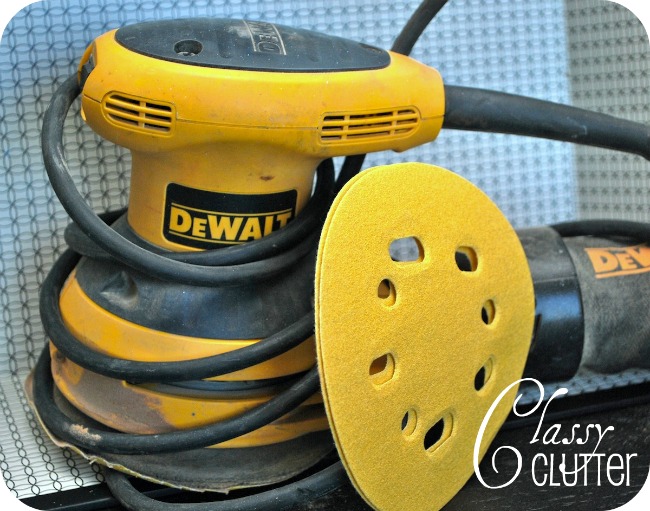
1. Prep:
First things first! Sand and then wipe with a damp towel. If there is a lot of dirt and grime on the piece we usually clean it with TSP. You can find TSP at your local home improvement store, or Walmart may carry it. It’s a great product to have on hand if you have a few projects to do.
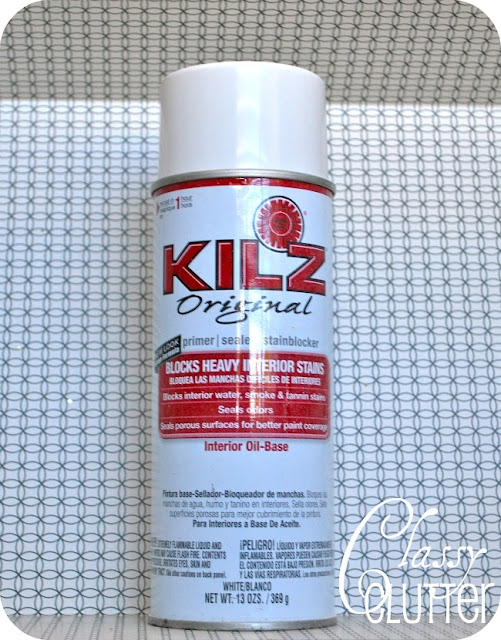
2. Prime:
We use KILZ spray primer and sealer. The only issue we have found with this primer is that it can leave a little gritty texture once it dries so use a shop rag and rub it off. If that does not remove all the grit then use 220 grade sandpaper, and lightly buff it off. Then wipe it down again to remove any dust or debris from the sandpaper. TIP: Sometimes if you shake the can for several minutes before use, it eliminates the gritty texture.
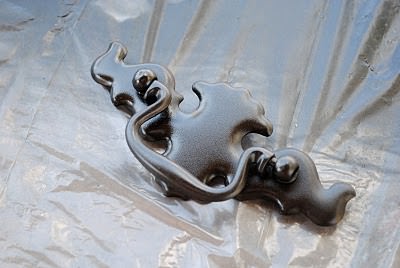
While your primer dries, you can work on your hardware. We like to use Oil Rubbed Bronze. It’s an all around great finish but you can choose to use any color or metallic finish. Spray the hardware with light even coats. Let dry thoroughly.
3. Paint:
We almost always use Krylon spray paint. Do not waste your money on the $1 cans of spray paint because it will cost you a lot more in the long run. They do not have very good coverage unfortunately. Krylon and Rustoleum are the best! The key to spray painting is using light coats. Use a back and forth motion releasing the nozzle every once in a while. Don’t stay in one spot too long, or you will have drips and those have to be sanded out. Let paint dry in between coats to avoid drip or splatter marks. Spray paint can drip easily so keep an eye out for those!
4. Protect:
Polycrylic also comes in a spray paint form! We like to give each piece at least two coats of a sealer. We usually use polycrylic or polyurethane to finish our pieces.

5. Add your hardware then you are done!
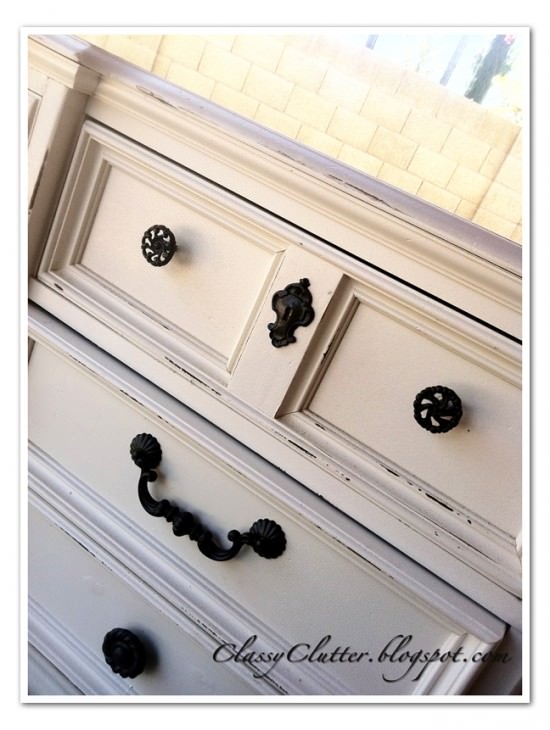
Enjoy your newly painted project! The possibilities are endless when it comes to spray paint! Next week we will show you how to get creative with your furniture finishes! Sometimes a piece needs to be jazzed up a bit! We can’t wait to show you a few of our tricks! Here are a few of our furniture makeovers that were done with SPRAY PAINT!
 Navy Blue China Cabinet
 Creamy Ornate Headboard
 Tiffany Blue Dresser
Are you ready to tackle your next project yet?? Head over to Classy Clutter for more furniture and home decor inspiration!  Mallory and Savannah are best friends and the brains behind Classy Clutter, a one-stop shop for all things creative with a focus on Furniture and Home Décor. Both are moms with a mission for being creative on the cheap! Mallory is a full-time mom of two little boys and a student. She runs her Etsy Shop Heartfelt Designs and Photography Business from her home in New York. Savannah is a cosmetologist at an Arizona salon called Hair Do and keeps busy doing furniture, crafts and activities with her two little girls! Classy Clutter keeps them connected from NY to AZ! Classy Clutter is your place for inspiration, tips and tutorials! Please hop over and check us out! Wed love to have you!

Hi,
Thanks for your tips about painting furniture. I have a small wooden armoire which I want to paint.I was in so much hurry to re-purpose it that I coated it with yellow color. I totally forget to remove the glossy surface with sand paper and now the finish on the armoire is not so smooth or attractive. Would a 2nd coat fix it or is there any other way I can fix it?
I pretty much followed all of your helpful tips. But, I have drips on my coffe table. I need some advice on what to do. Thanks!!
Hi-
Great tutorial! I have a dresser that has already been spray painted white. Do I have to re sand it to spray paint a different color?
Thanks!
I really want to paint a bunch of furniture I inherited from my grandparents. They all have routered edges and fancy curved bits. I intend to do it all with a power sander and don’t want to have to sand much by hand. How well do I need to sand the rounded indents? Just scuff it a bit or REALLY get in there and get all the varnish off? These are antiques, and the varnish is THICK.
I would love to paint a huge bedroom set….but in the past I’ve problems with the paint chipping off over time. I don’t want the destressed look….just a really sharp paint job. Will this achieve that look? Thanks